Introduction
Batch Folder Processing provides a way to load and analyze a large number of images at once without loading each one into the Main Window individually. This prevents performance degradation when many images are loaded, and allows for custom selection and ordering of images within the folder, giving you more control over how Imatest executes multi-image batch analyses.
When to use
- When processing more than a few images
- When the images are all located in the same folder
- When the order of the processing is crucial to the analysis such as Stray Light Source
Important Caveats
Currently, Batch Folder Processing only loads top-level images in a folder. In other words, it does not support sub-folders.
It supports analysis on one folder at a time.
How to use
Sample files in a folder
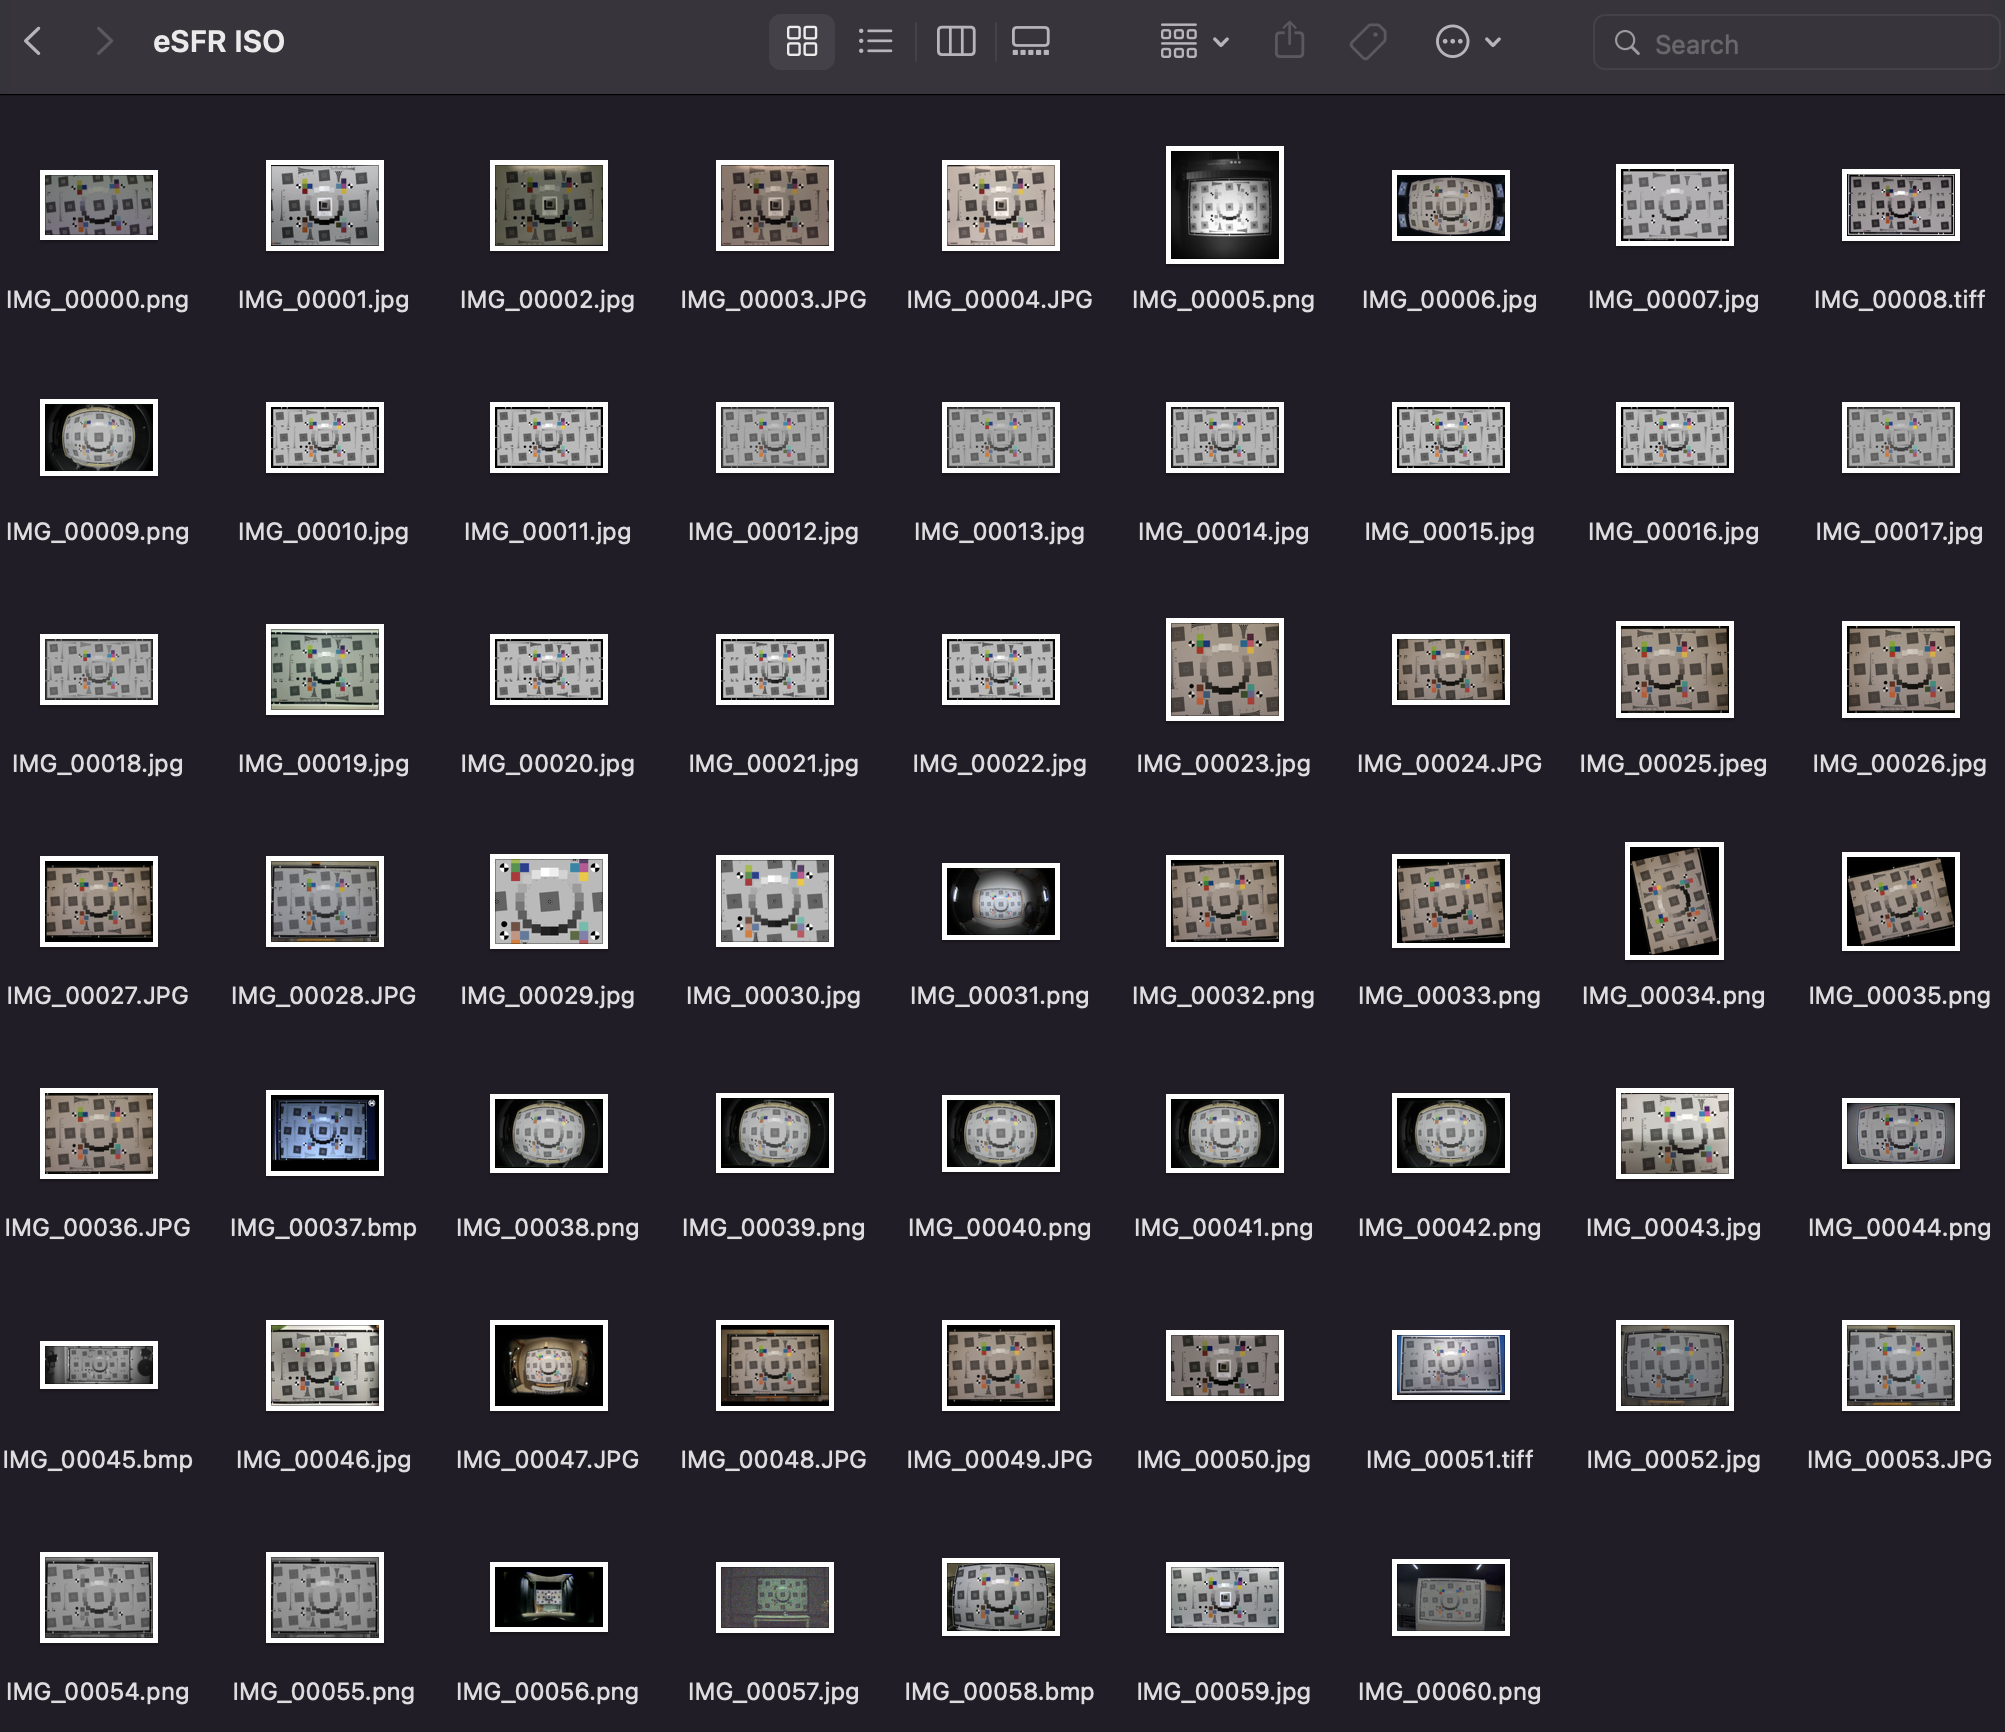
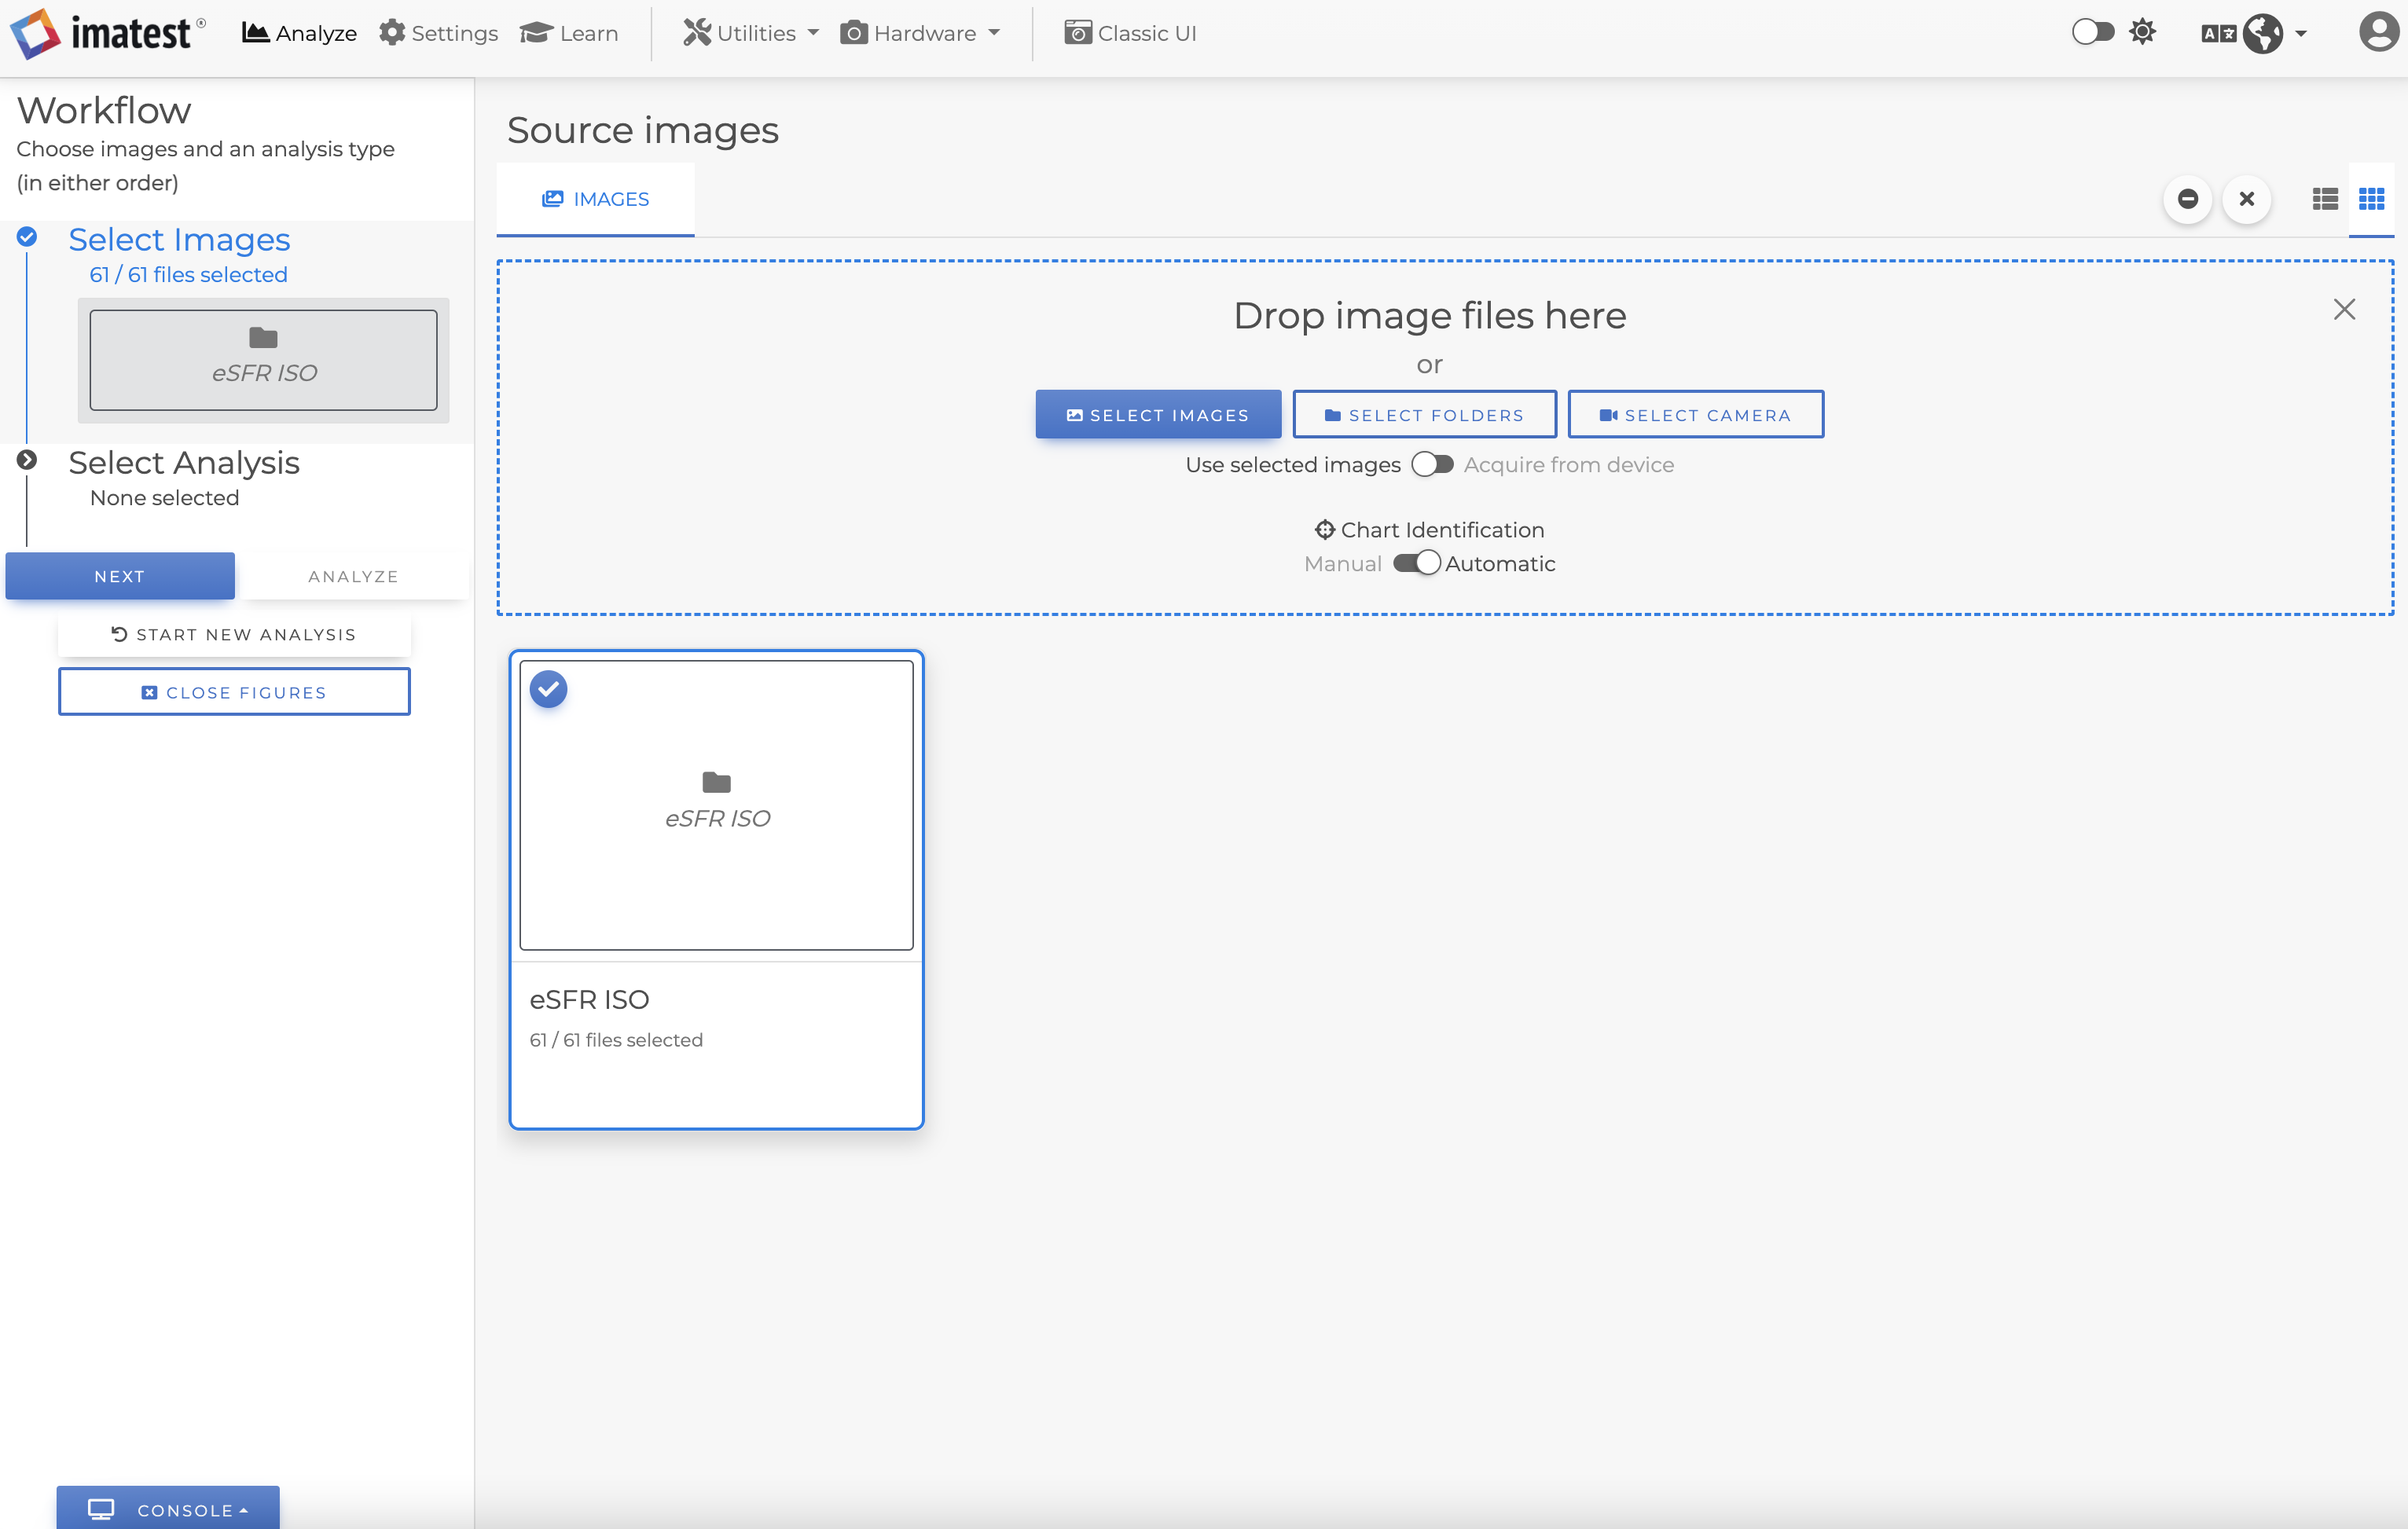
First, upload a folder containing images for analysis, either by dragging and dropping or using the “Select Folder” button.
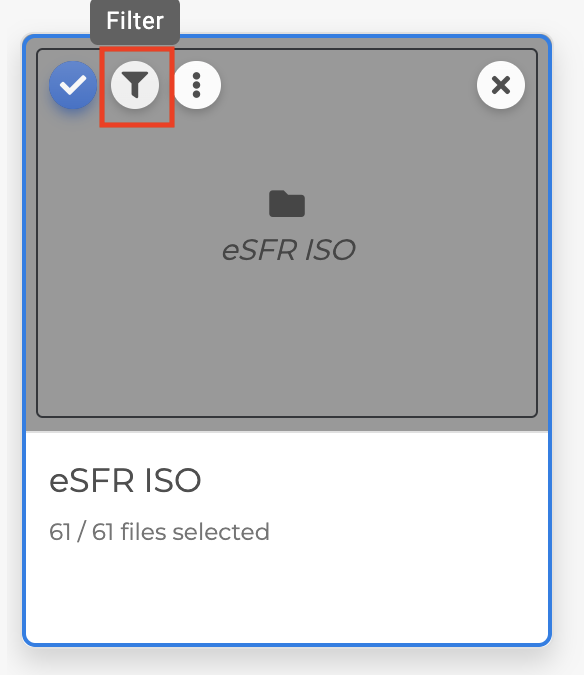
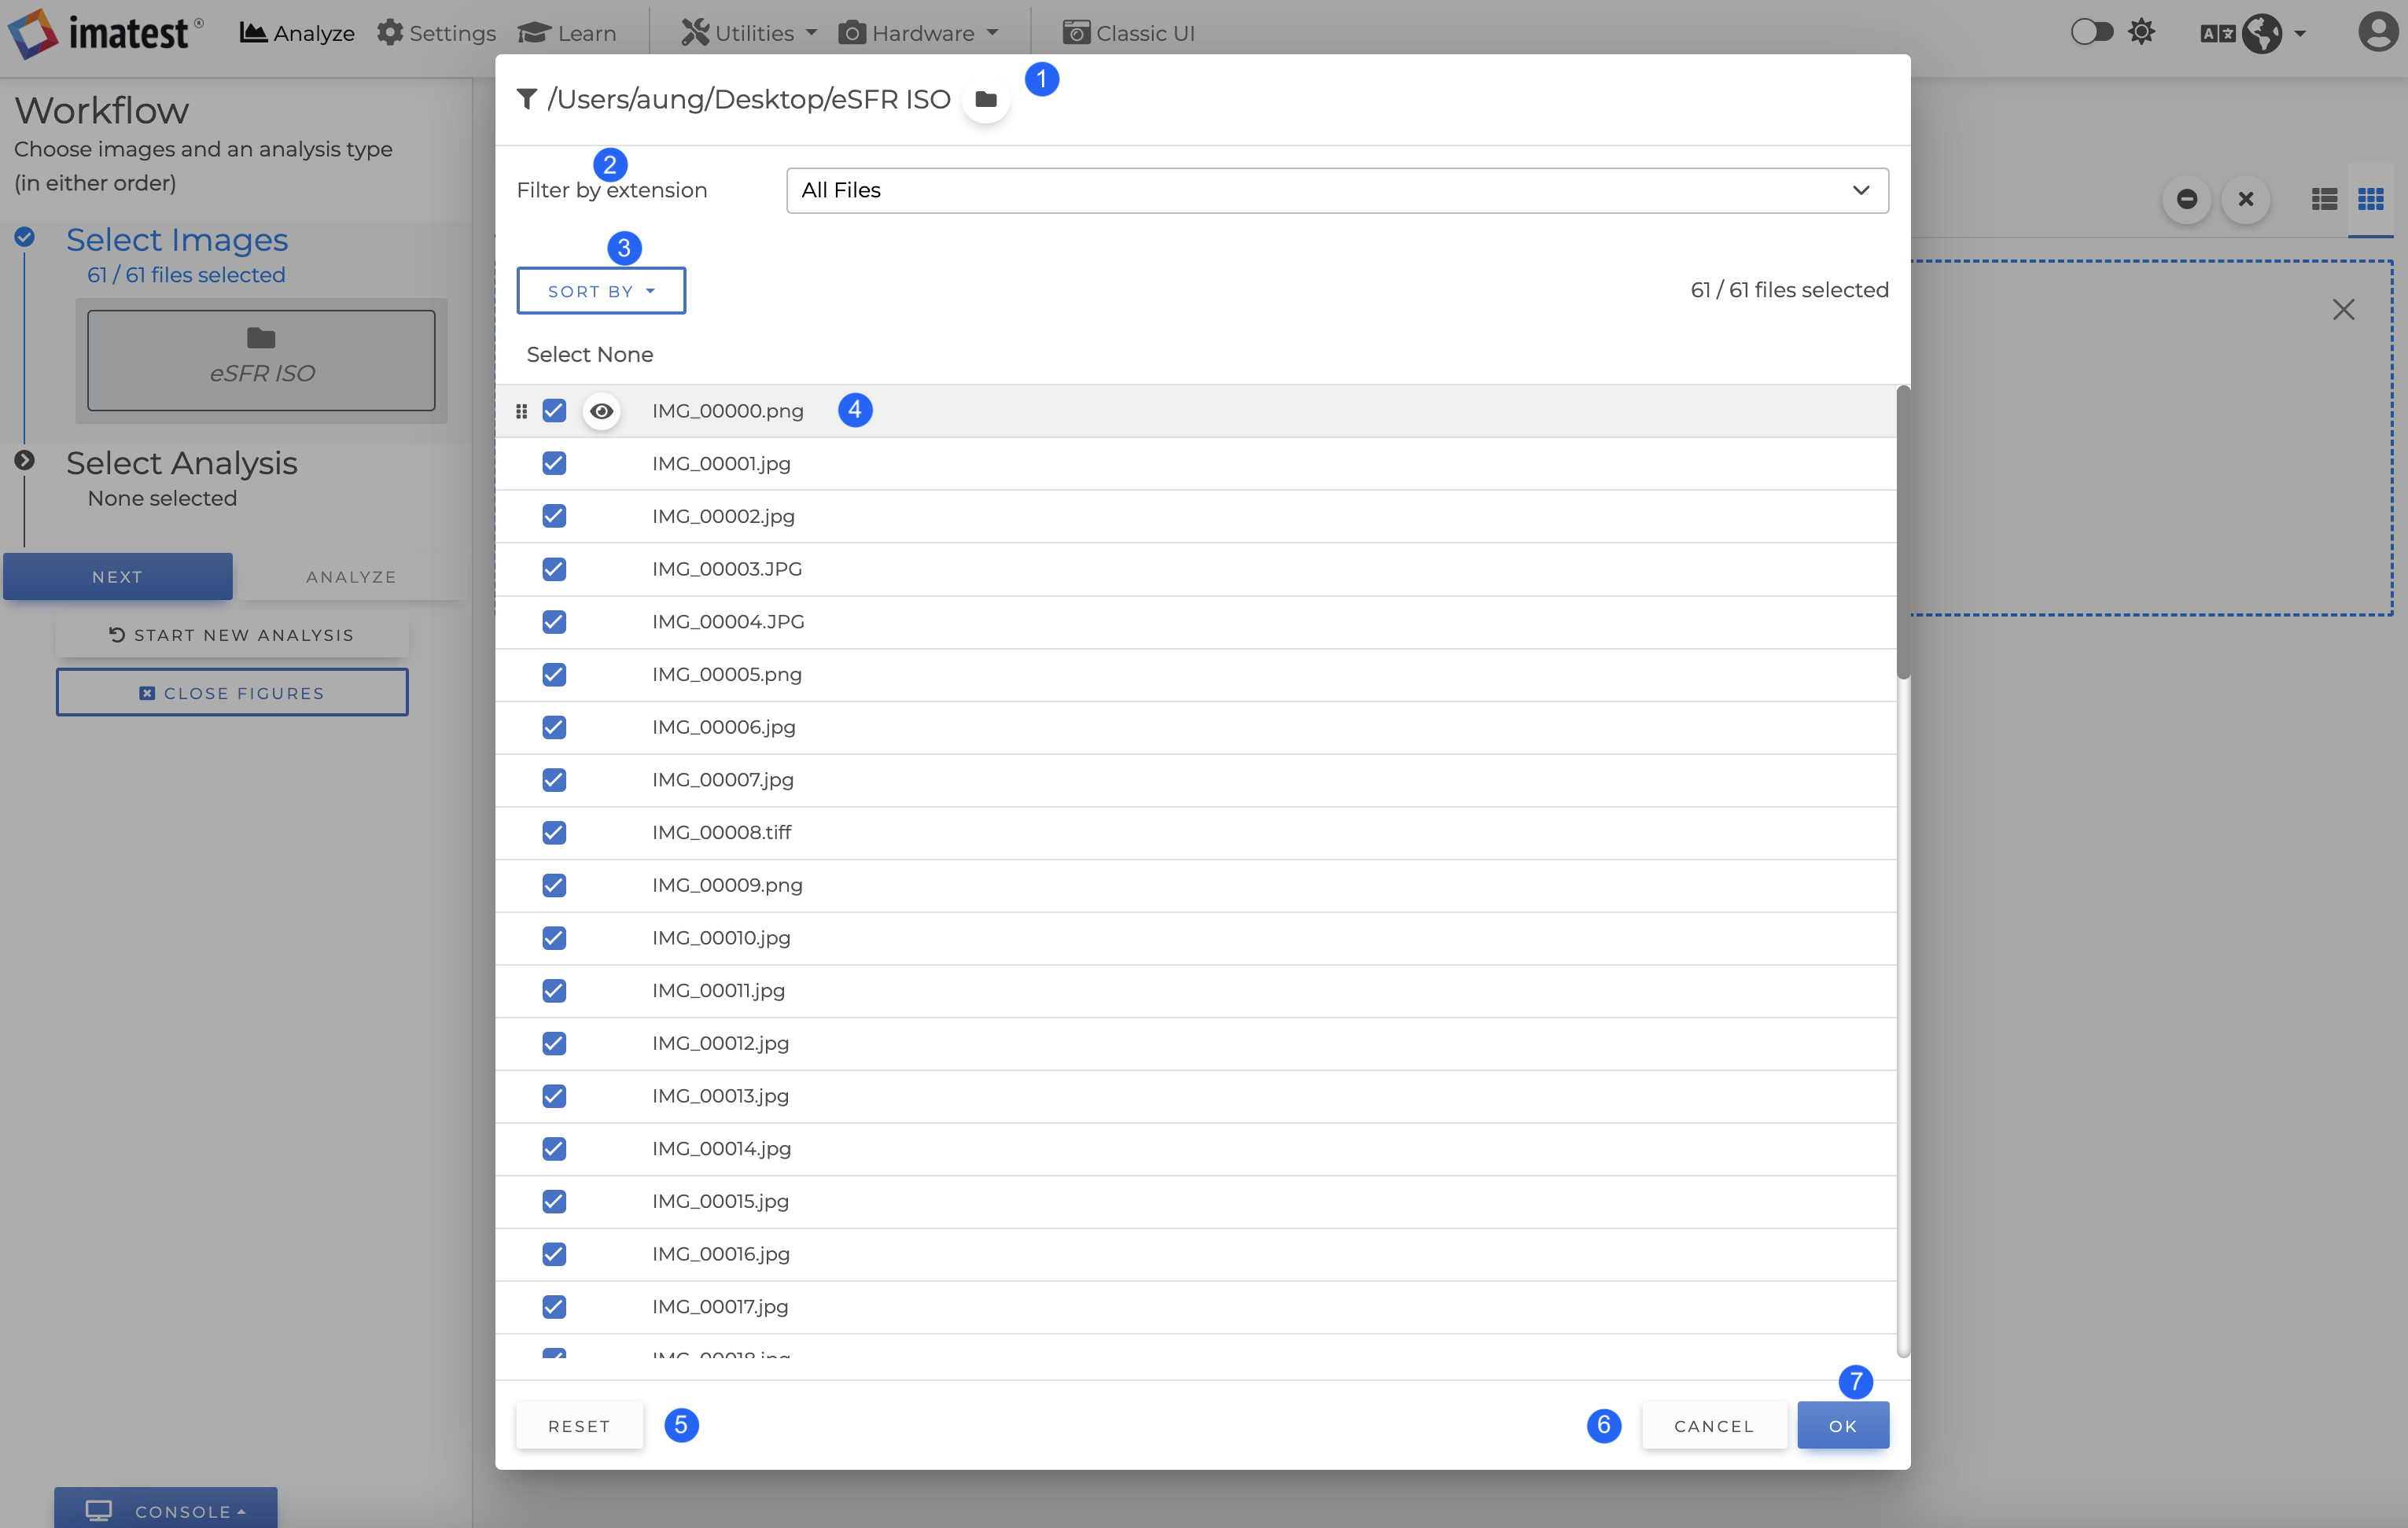
By default, all of the images in a folder will be selected for processing. To fine-tune this, click on the “Filter” icon on the folder icon.
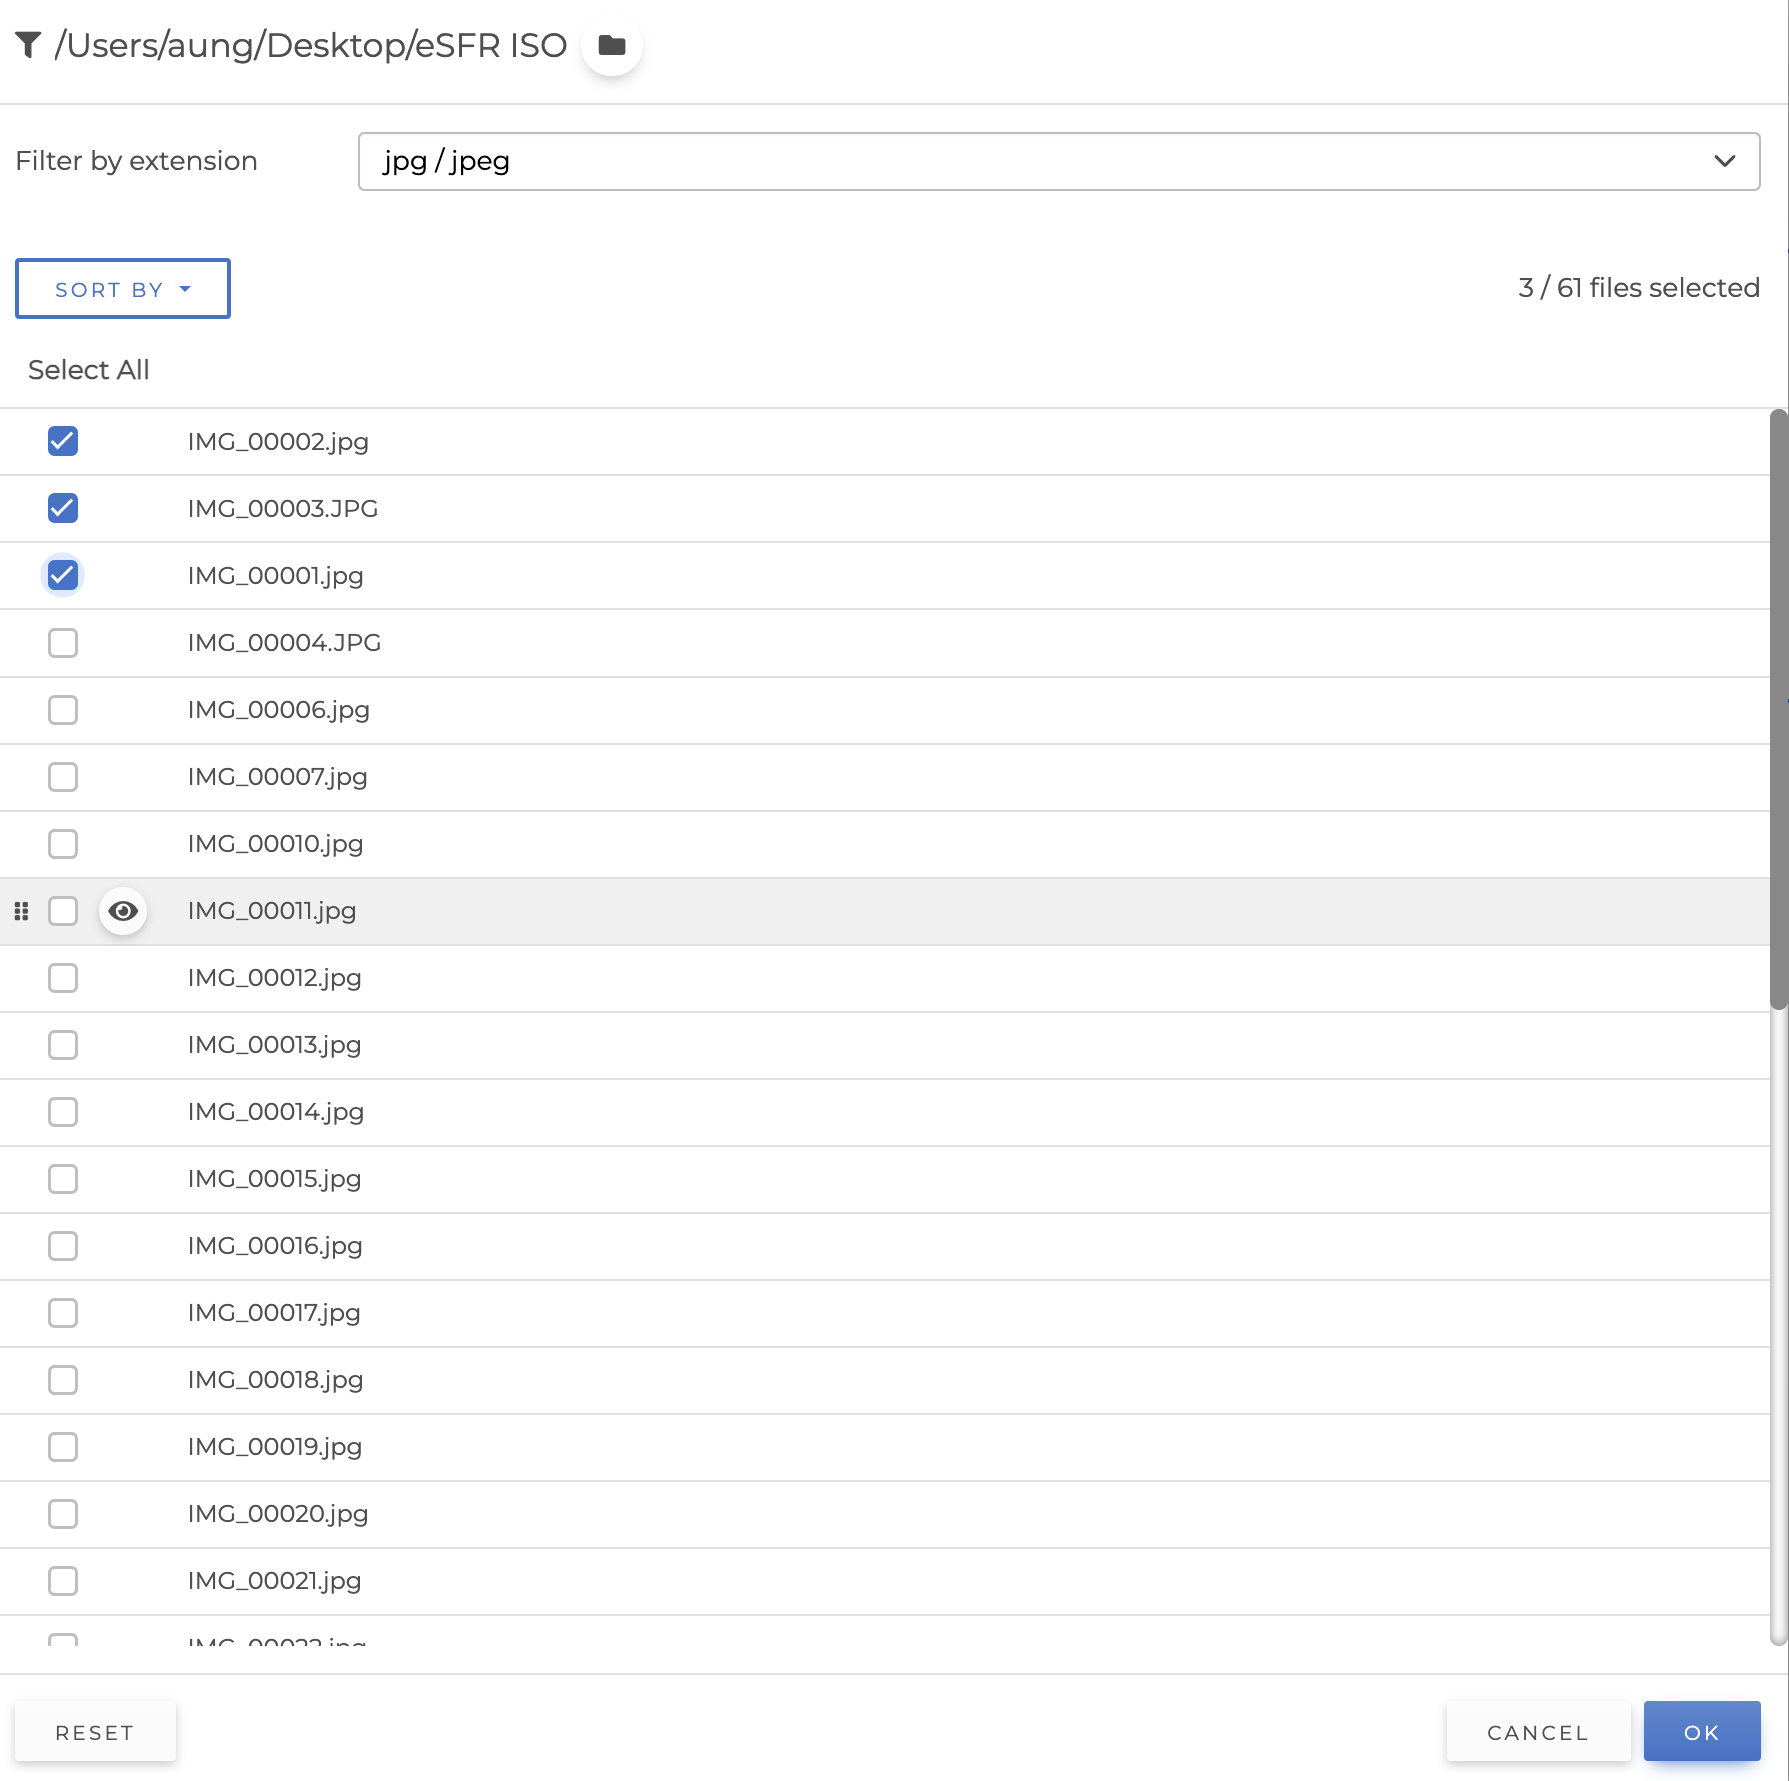
In the Batch Folder Processing window, you can click on any row to select/deselect that particular image from the batch, or click “Select None” or “Select All“. If unsure of the image, you can click on the image preview icon that appears when you hover over the row to view an image without needing to leave the Batch Folder Processing window.
To adjust the order of the images, simply click and drag the row.
After selecting and/or rearranging images, click “OK” to confirm. Only selected images will be included in the batch analysis, and they will be processed in the order as shown in the Batch Folder Processing window.
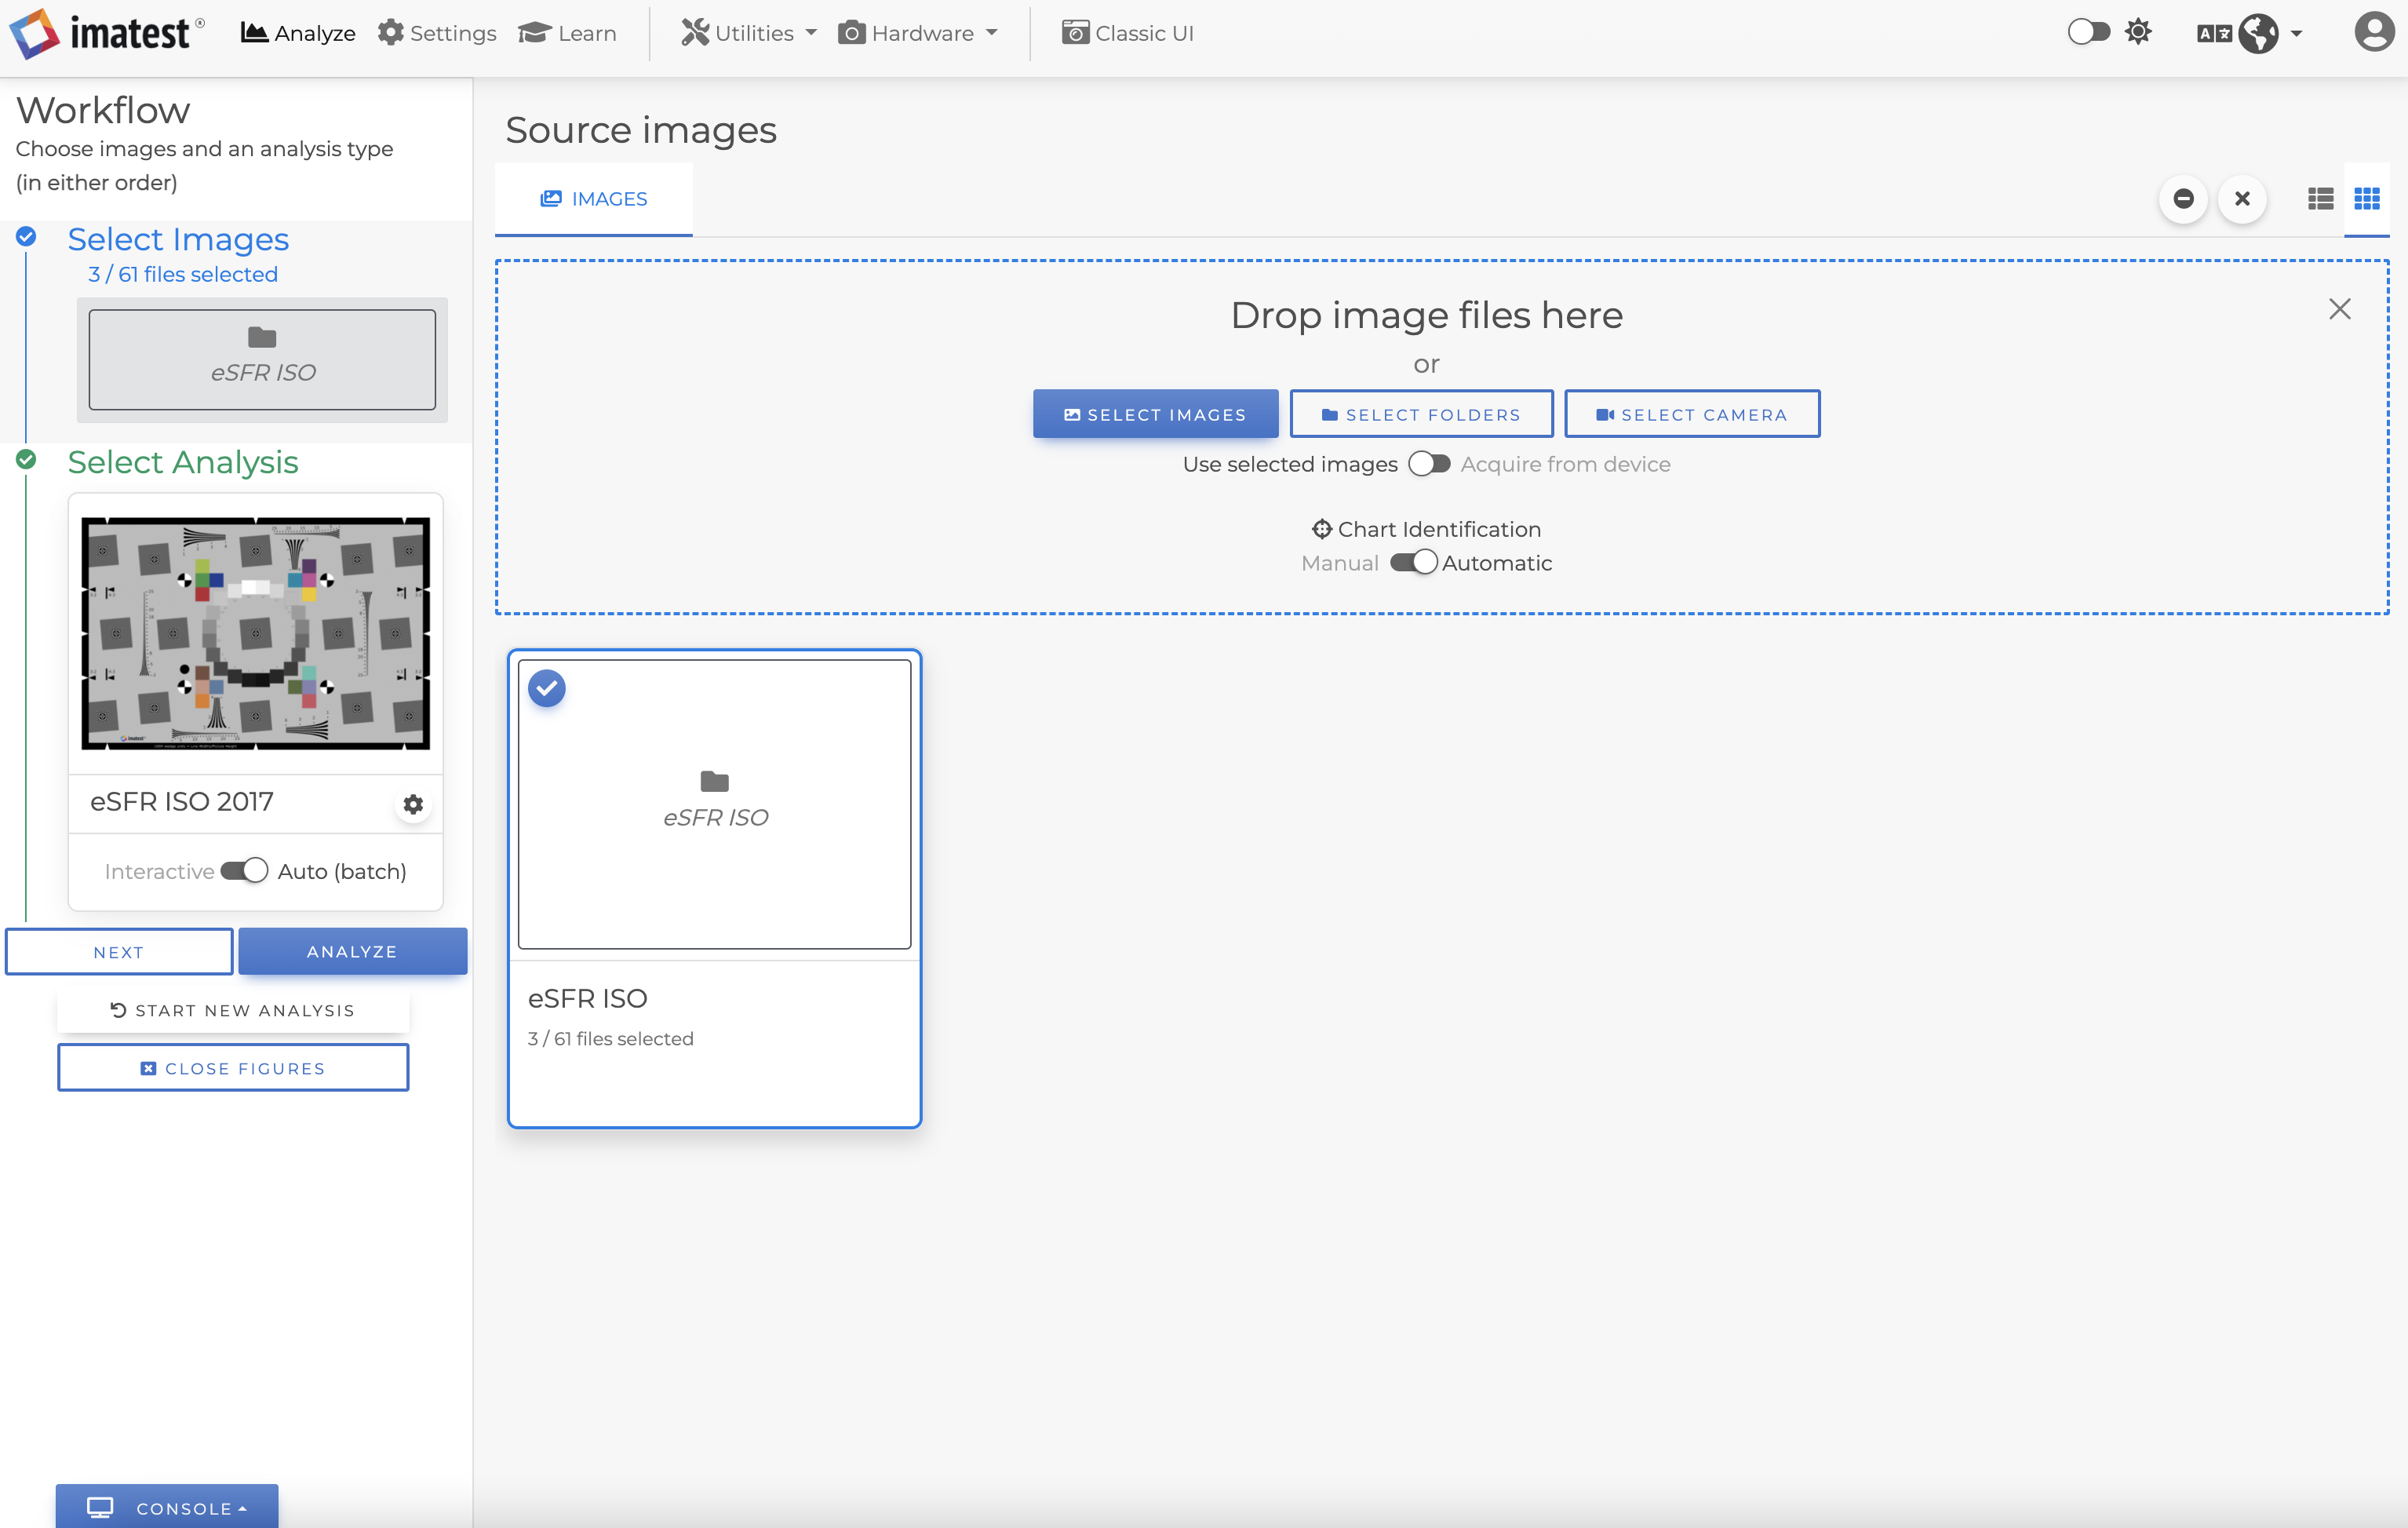
Select Analysis target. Click Auto (batch) mode (if available). Then, click “Analyze” to run the analysis of the selected images in the order chosen in the Batch Folder Processing window.
|
1 |
Changing folder |
You can change the selected folder without leaving the window. |
|
|
2 |
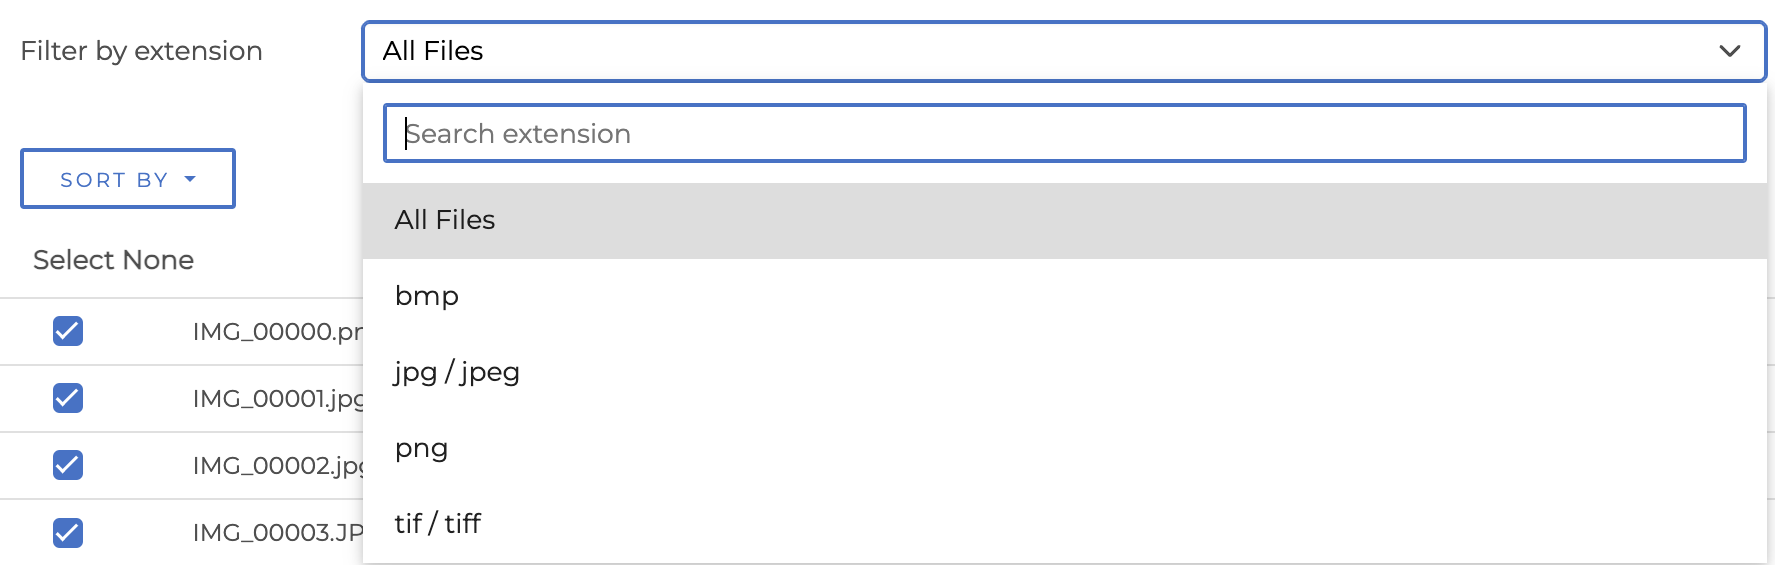
Filter files by extension |
File extension filtering allows for quick exclusion of non-images that may exist in your directory (for example, if you have any text or other non-image files, you can automatically select only .JPG files for processing). The options for file extension are based on the file extension of the files in a current folder. After we select an extension filter, the files with that extension will be shown instead of all files. |
|
|
3 |
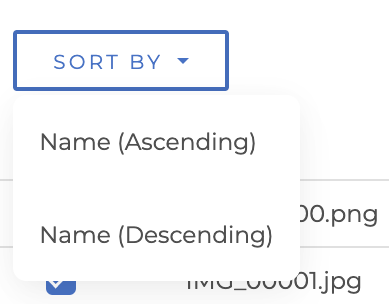
Sort by |
This is a one time sort. Currently, it supports sorting by file name in ascending or descending order. |
 |
|
4 |
File |
Each row in a table consists of filename along with the selection checkbox, image preview icon, and drag-and-drop icon. |
|
|
5 |
Reset |
Resets the filter and selects all of the files. |
|
|
6 |
Cancel |
Closes the window without applying any changes. |
|
|
7 |
OK |
After choosing images for analysis and/or rearranging the order, click “OK” to apply the changes. Please note that this option only remembers the selected images and the order of those images, and will not be remembered if you upload the same folder a second time. |