Installation Requirements
The Offline Floating Licensing Server is installed as a Linux daemon on a machine (typically virtual) that is accessible from the local area network. Currently the daemon is only supported on CentOS 7 or RHEL 7. The installation can proceed either from the VMWare/KVM disk images provided, or the machine can be provisioned from scratch. After the machine is provisioned, then the daemon is installed via two .rpm packages.
Daemon Installation
[Optional] Install the VM Disk Image
A CentOS 7 VM can be downloaded from the following links for KVM and VMware:
The user account is root and the password nalpeirondaemon. Please follow the instructions for your hypervisor to install the VM and then change the user account password.
Install the Daemon and Database
The offline floating license daemon and associated database can be downloaded from the following links:
Please download both to the machine that will serve as the host.
The daemon and database can then installed and configured with the following commands (please run them as root):
yum install /path/to/nalppgsql-*.rpmyum install /path/to/*nalpdaemon*.rpm- Modify the firewall to allow connections to port 16700 (for the daemon) and port 80 (for the license administration portal)
firewall-cmd --permanent --add-port=16700/tcpfirewall-cmd --permanent --add-port=80/tcp
- Disable SELINUX: edit /etc/sysconfig/selinux change SELINUX=enforcing to SELINUX=disabled
- Check the following values and, if needed, increase the open file limit of your system
$ ulimit -aH
core file size (blocks, -c) unlimited
data seg size (kbytes, -d) unlimited
scheduling priority (-e) 0
file size (blocks, -f) unlimited
pending signals (-i) 63684
max locked memory (kbytes, -l) 16384
max memory size (kbytes, -m) unlimited
open files (-n) 8192 <———————Open file limit
pipe size (512 bytes, -p) 8
POSIX message queues (bytes, -q) 819200
real-time priority (-r) 0
stack size (kbytes, -s) unlimited
cpu time (seconds, -t) unlimited
max user processes (-u) 63684
virtual memory (kbytes, -v) unlimited
file locks (-x) unlimited- If your open file limit is less thant 8192, change this value by editing /etc/security/limits.conf and adding or changing the “nofile” lines to:
* soft nofile 8192
* hard nofile 8192
- Check and, if necessary, increase the kernel’s socket backlog limit, to
$ sysctl net.core.somaxconn
net.core.somaxconn = 128- Increase this value to 2048 (or higher) by editing /etc/sysctl.conf and adding or editing the “net.core.somaxconn” value:
net.core.somaxconn = 2048
- Restart
Test Daemon Installation
To verify that the daemon is running, execute the following
sudo systemctl status nalpdaemon
There should be output similar to the following if the daemon is running:
To verify the postgres database is running, execute the following:
ps -elf | grep postgres
If postgres is running, the output should be similar to the following:
Enable the daemon upon restart
In the terminal, execute the following:
sudo systemctl enable nalpdaemon
Administrator Portal
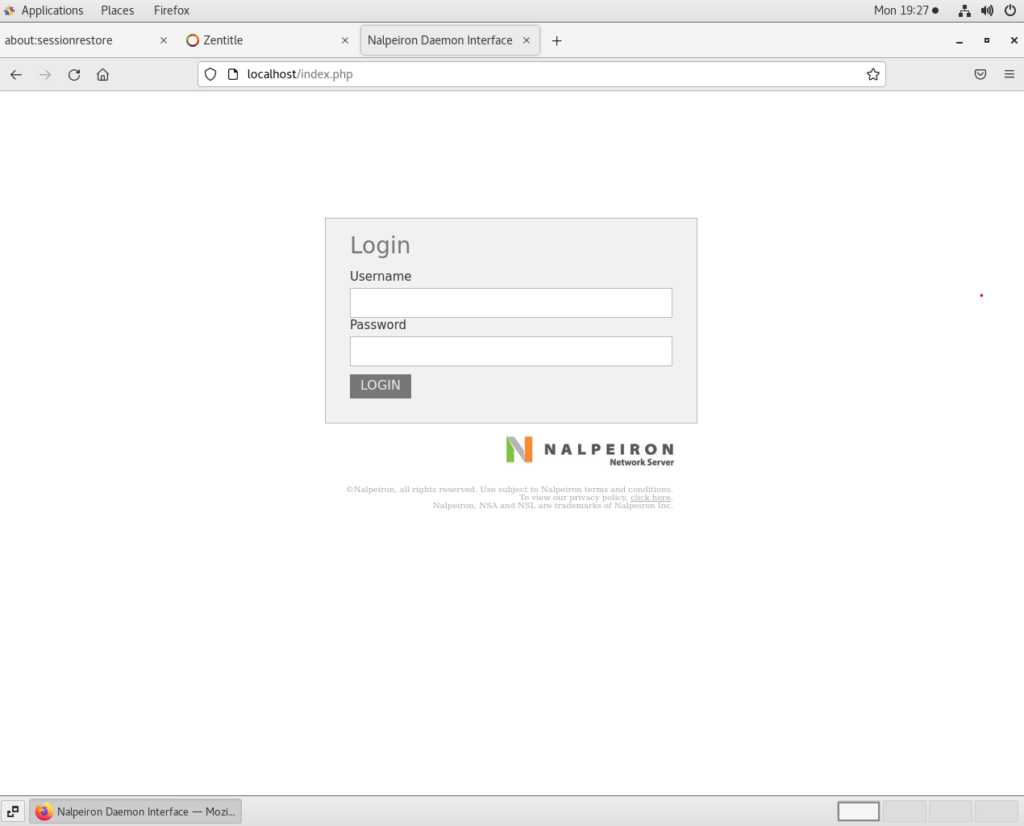
In addition to marshaling license activation/deactivation, the daemon also serves an administrator portal website. To access the login page for the portal, open a webbrowser at the IP address for the host machine of the daemon.
The default username and password are ‘admin’ and ‘nalpeiron’, respectively. Note that while only the admin account can log into this portal, all accounts can be used for licensing purposes.
Daemon Status and Settings
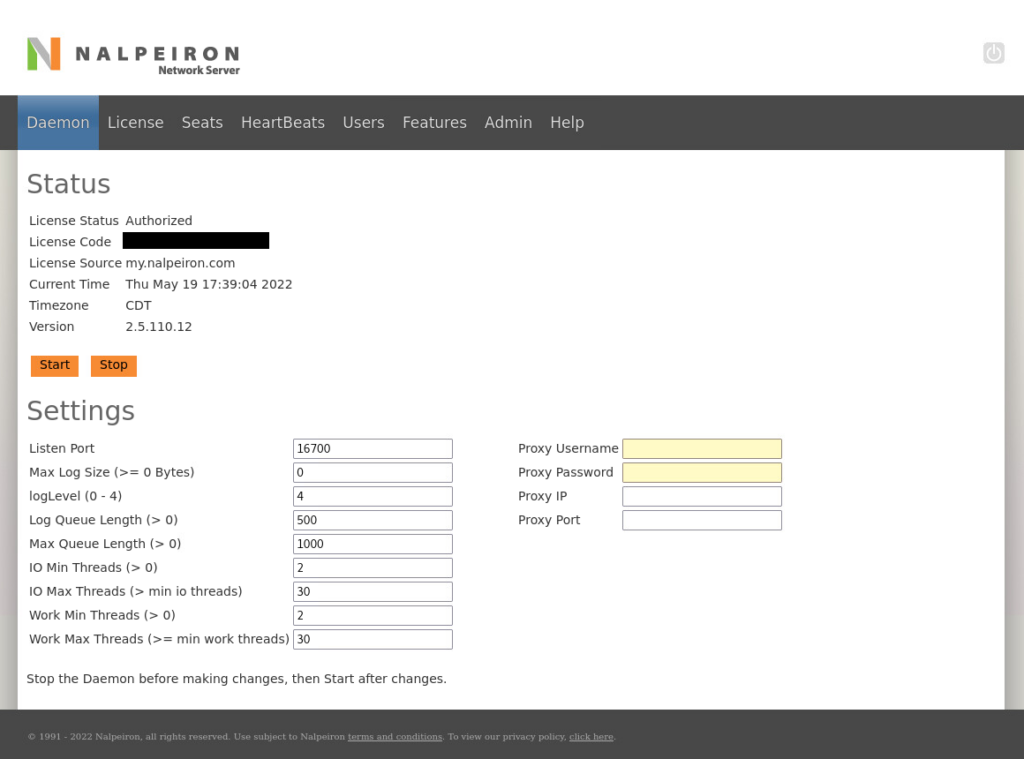
Once logged in you will be presented with the Daemon tab of the Administrator portal:
The Daemon tab provides a simple display of the daemon’s status as well as a means to configure the daemon. If the daemon is running, then the status fields will list the daemons status (as in the image above). Otherwise they will indicate that the daemon is not running.
The daemon must be running prior to any attempts to activate a client license, which can be accomplished by pressing the ‘Start’ button. Should the need arise to change the daemon’s settings, the daemon will need to be restarted in order for the changes to be registered by pressing the ‘Stop’ button and then ‘Start’.
| Listen Port | The port on which the daemon will listen for client activation/deactivation. The default is 16700. |
| Max Log Size | The maximum allowed log file size in bytes. This setting must be greater than zero. |
| logLevel | This setting dictates the level of detail in the logs. A setting of 4 should be used when diagnosing issues or for sending to support. Otherwise, 1 is sufficient. |
| Log Queue Length | The maximum queue length for logging queue. |
| Max Queue Length | The maximum queue length for the client connection queue. |
| IO Min Threads / IO Max Threads / Work Min Threads / Work Max Threads | The minimum and maximum number of threads, respectively, to spawn for handling the I/O and internal work. Increasing these values will allow for more tasks in a given period at the expense of putting higher strain on the host machine. The daemon will manage its thread pools within the bounds defined by these parameters. |
| Proxy Username / Proxy Password / Proxy IP / Proxy Port | Should the daemon need to access the internet through a web proxy server, the credentials, proxy server IP address and port can be supplied here. Leave all fields blank if a web proxy server is not needed. |
Daemon License Online Activation/Deactivation
Activation
- Start In the License tab of the Administrator portal and in the Master License section,

select ‘Get License Online’ from the dropdown and click the orange arrow button.
- In the dialog that appears,
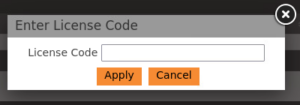
enter the daemon license code and click ‘Apply’.
Deactivation
- Start In the License tab of the Administrator portal and in the Master License section, select ‘Return License Online’ from the dropdown and click the orange arrow button.
- Click ‘Ok’ in the prompt that appears.
Daemon License Offline Activation/Deactivation
Coming soon …
Imatest License Online Server-side Activation/Deactivation
Activation
- Start In the License tab of the Administrator portal and in the Product Licenses section, select ‘Enter Product Info’ from the dropdown and click the orange arrow button.
- In the dialog that appears
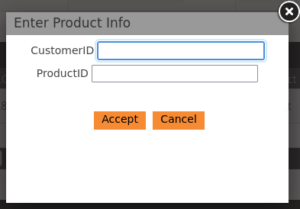
enter the following data and then click ‘Accept’
- Customer ID: 4068
- Product ID: 100
- In the next dialog,

enter the product license code (i.e. the Imatest license code) and click ‘Apply’.
- The Status for the license code will have changed to ‘Activated’

Deactivation
- Start In the License tab of the Administrator portal and in the Product Licenses section, select ‘Return License Online’ from the dropdown and click the orange arrow button.
- Click ‘OK’ in the confirmation dialog that appears.
- The Status for the license code will have changed to ‘License Returned to Server’
Imatest License Online Client-side Activation/Deactivation
For versions 4.1 to 22.2, see classic.
Activate using new License Manager (version 23.1.4+)
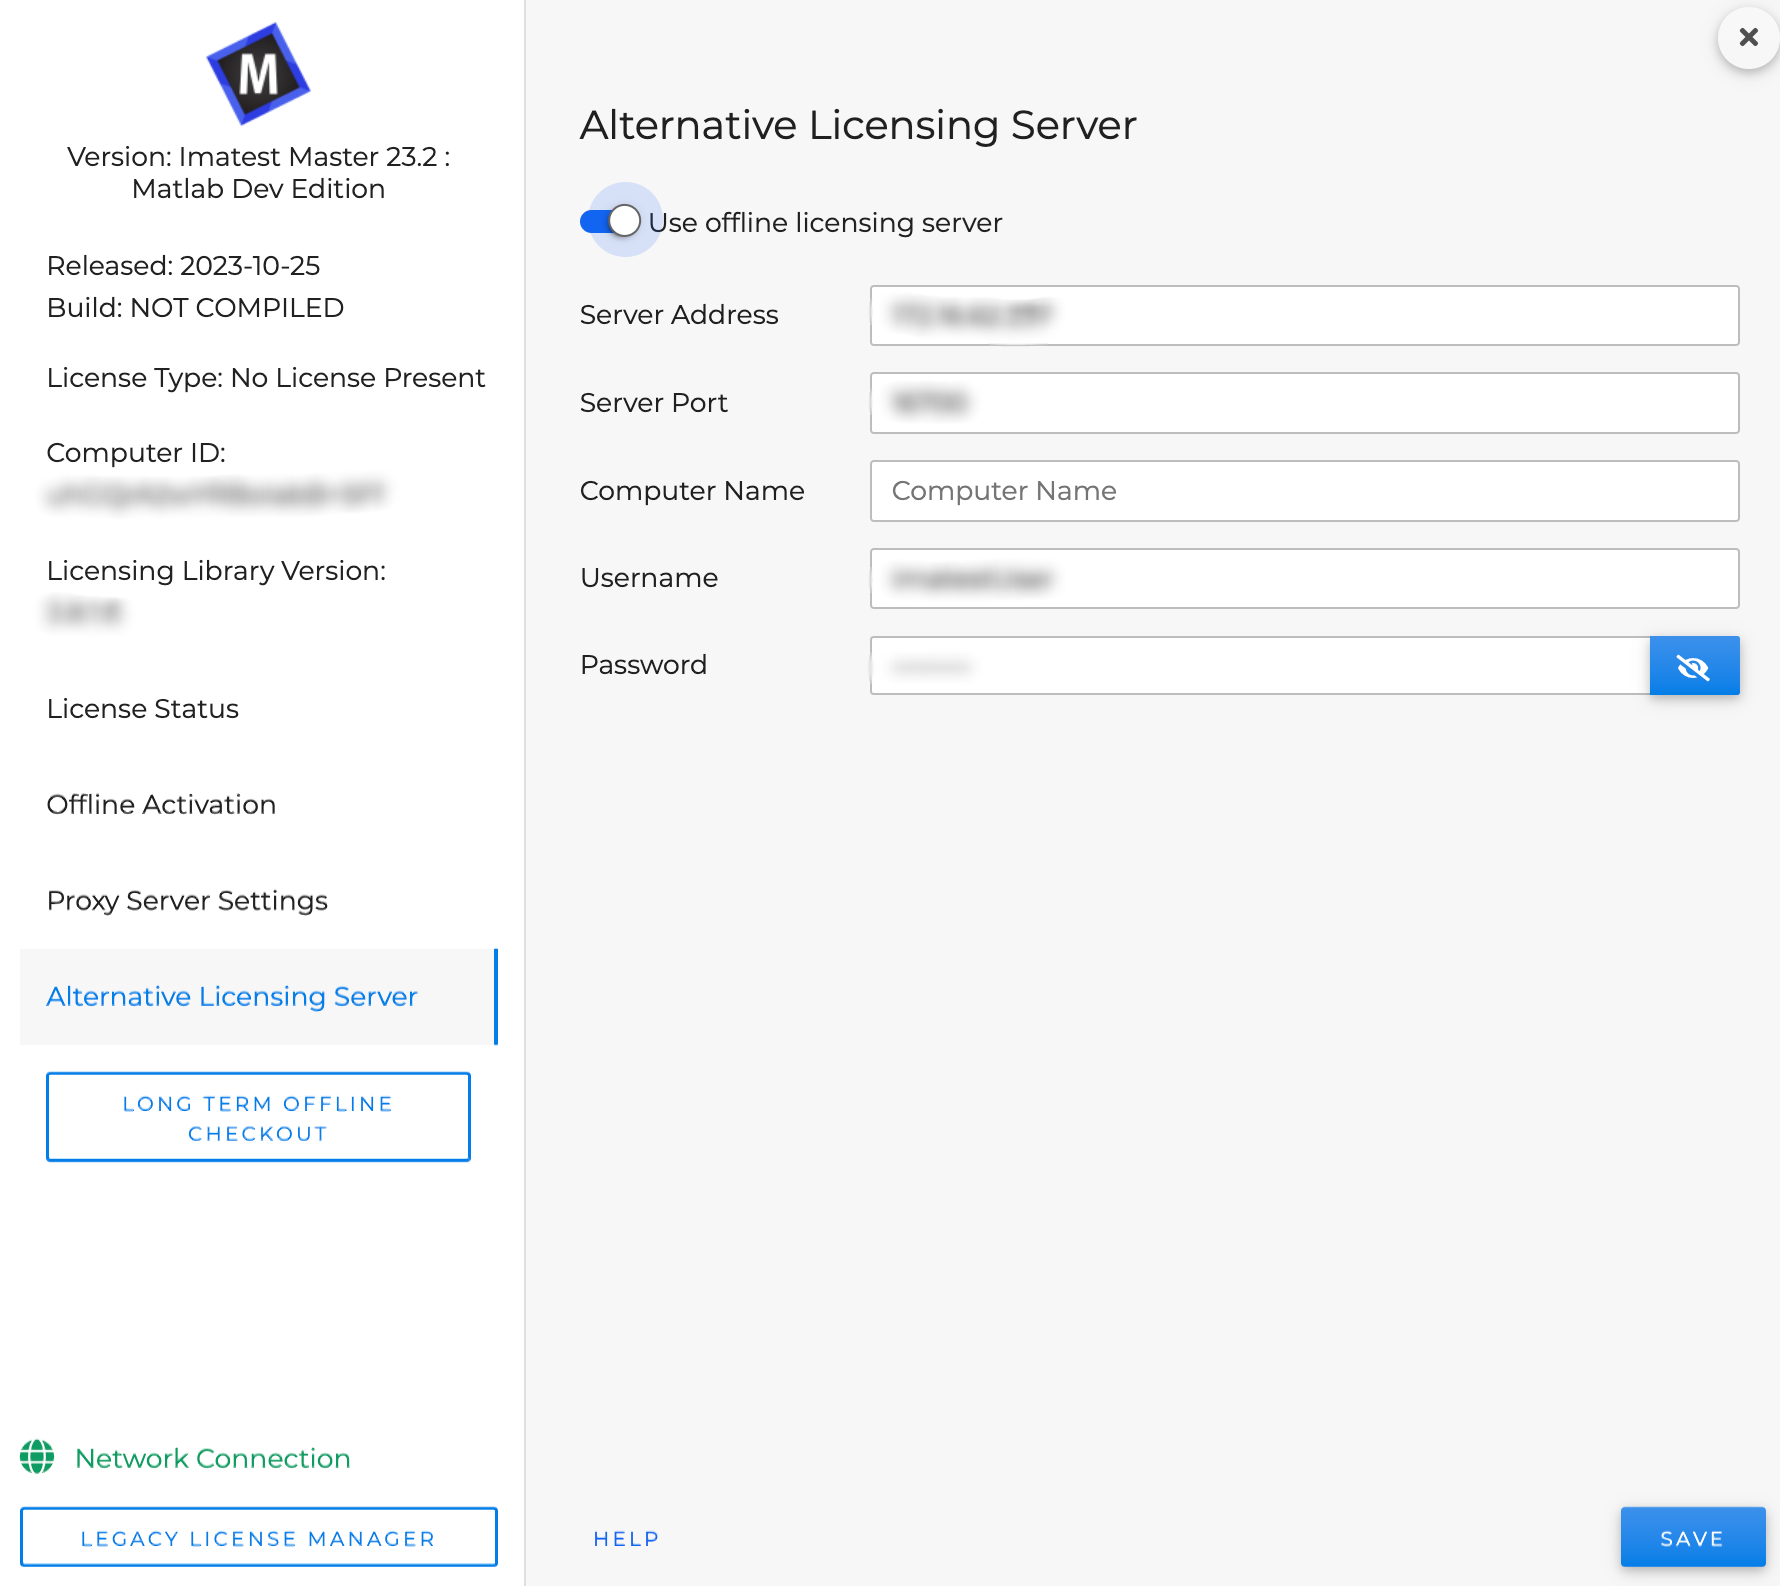
1. Click on “Alternative Licensing Server” from left navigation panel.
2. Enable “Use offline licensing server”.
3. Enter the server details and user account credentials.
4. Click “Save”.
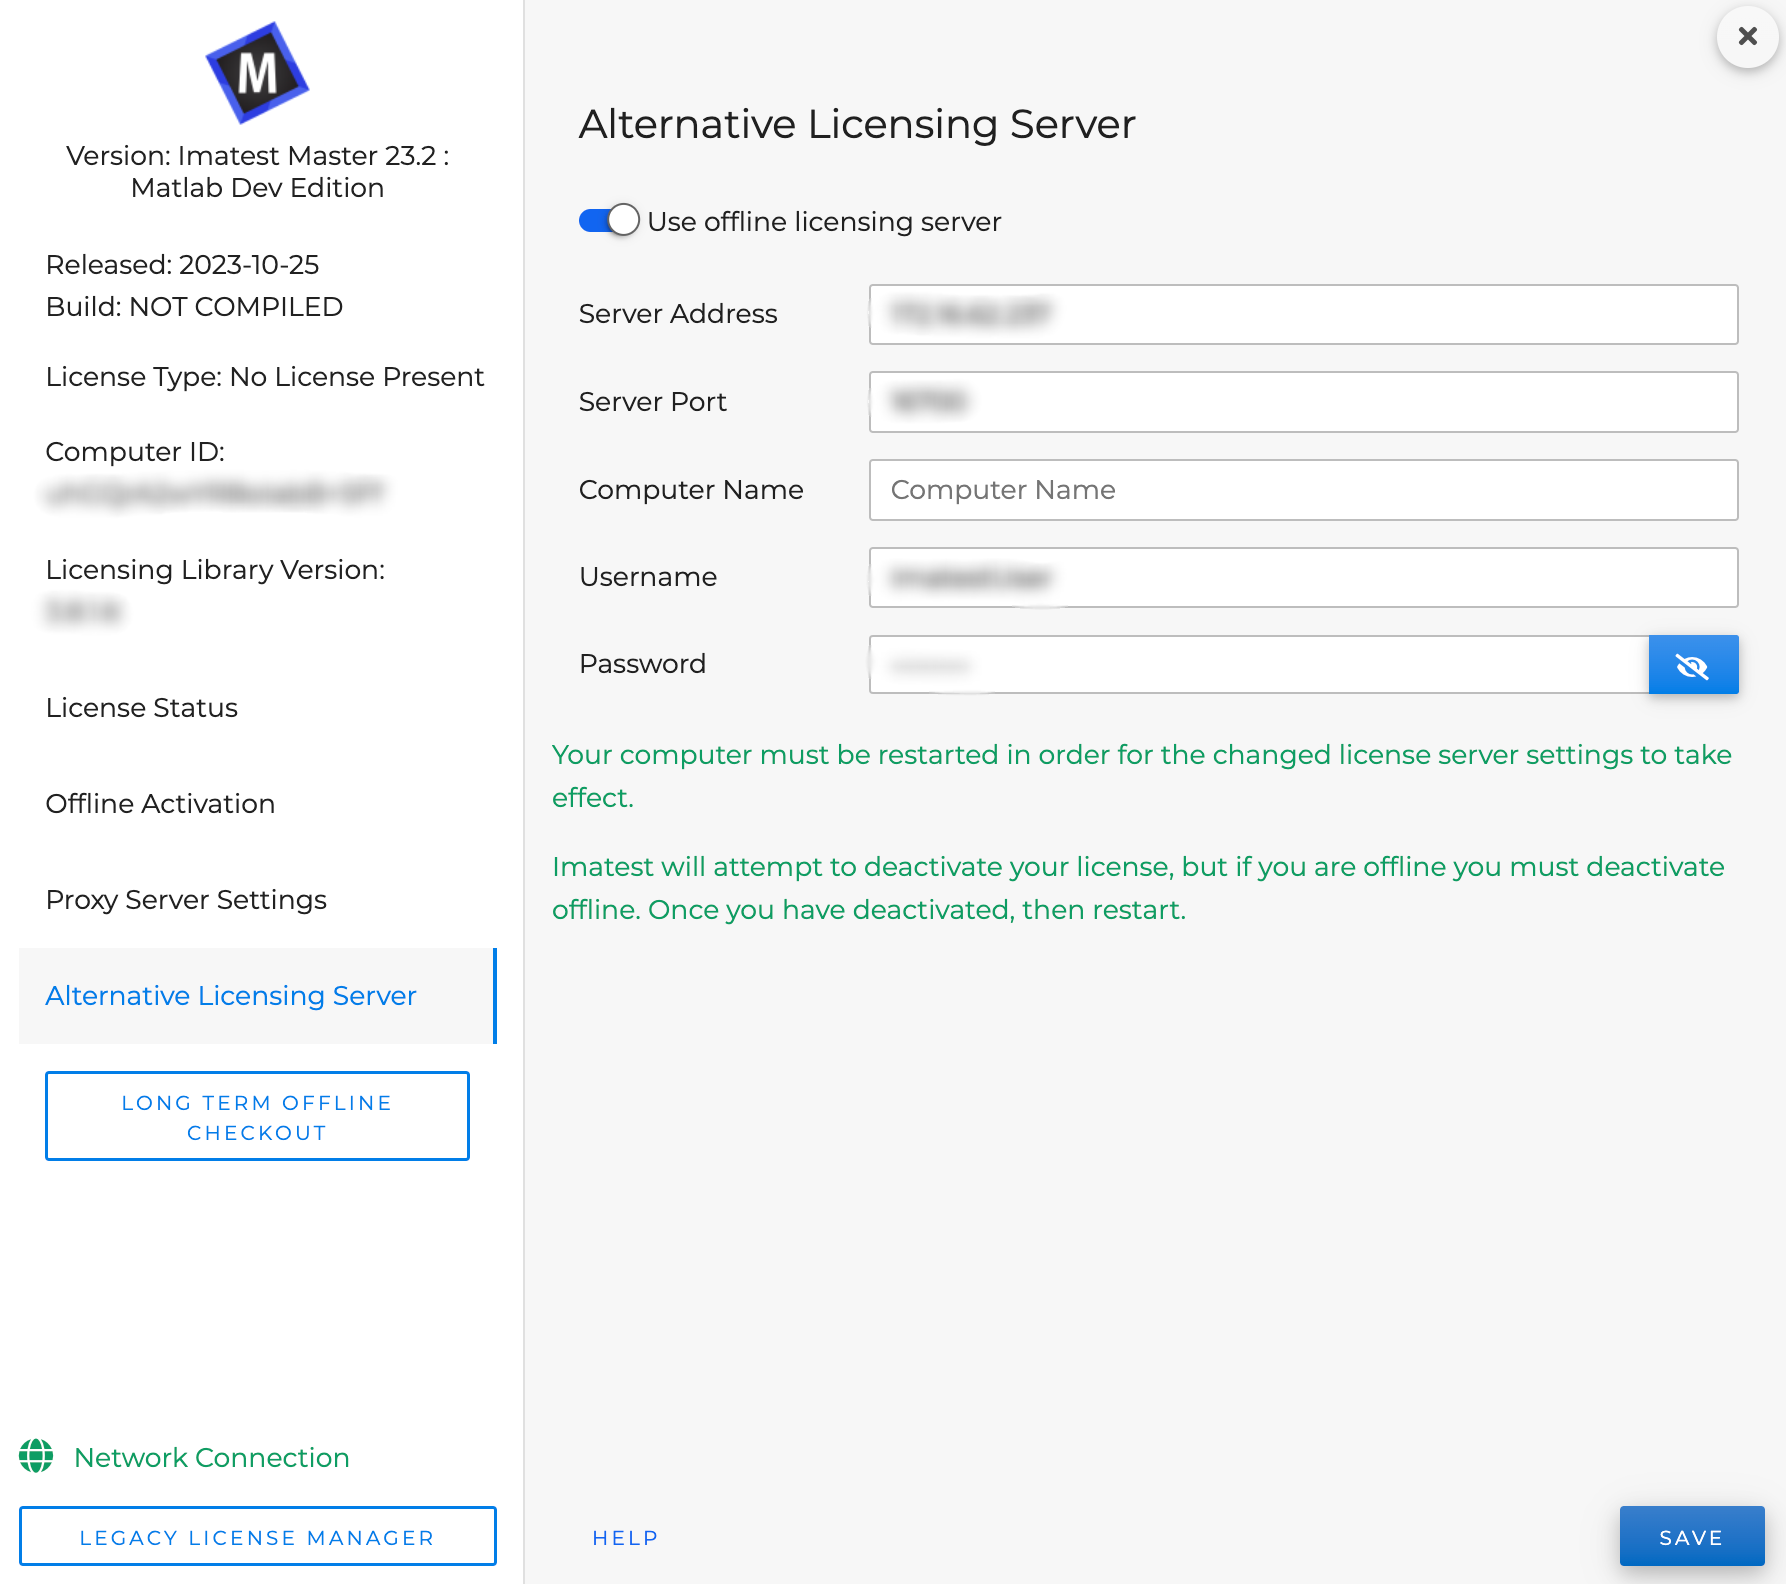
5. Follow the message to restart the machine.
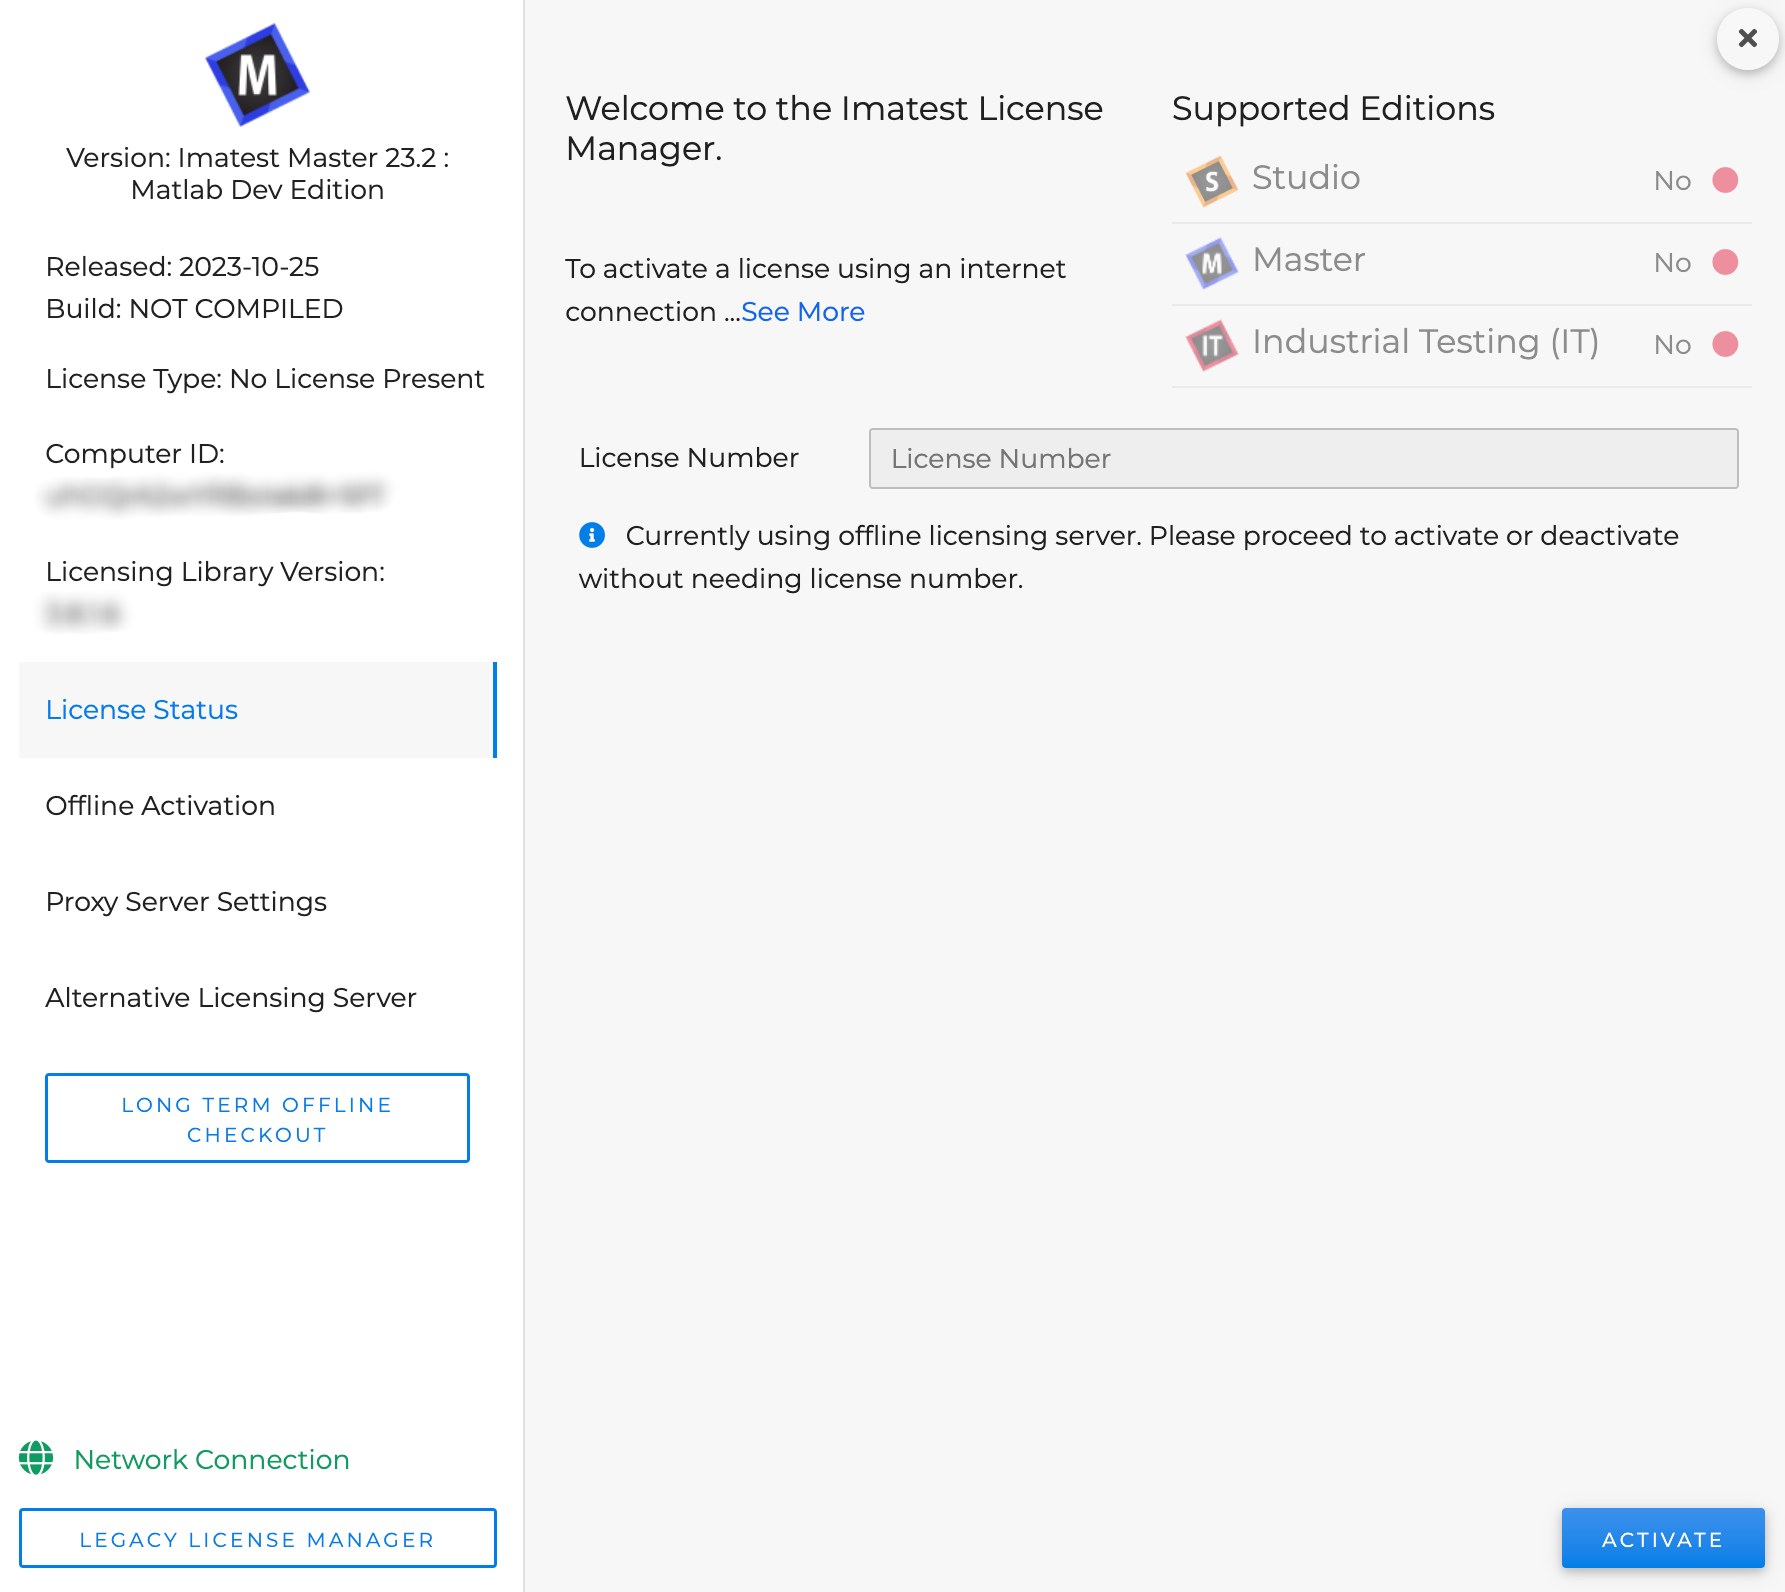
6. After restarting, open the license manager and click activate without needing to enter license number.
Deactivation using new License Manager
1. Open Imatest.
2. Open License Manager and click on “Alternative Licensing Server” from left navigation panel.
3. Disable “Use offline licensing server”.
4. Click “Save”.
5. Follow the message to restart the machine.
Activation using classic License Manager
- Open Imatest
- Click the Classic UI button
- In the Classic UI, go to Help:License Manager (Activate)…
- In the License Manager, go to Settings:Alternative Licensing Server …
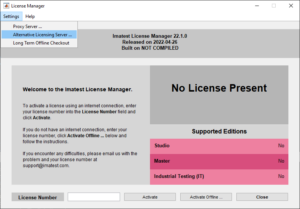
- In the dialog that appears,
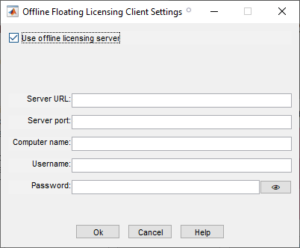
enable the ‘Use offline licensing server’ checkbox and in the fields below, enter the server details and user account credentials.
- Click ‘Ok’ and follow the prompting to restart the machine.
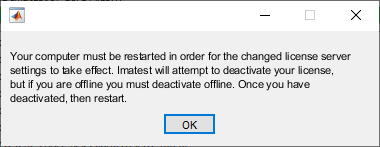
- After the machine has restarted, open the License Manager again and click ‘Activate’. Note that the license number field will read ‘netseat’.
Deactivation using classic License Manager
- Open Imatest
- Click the Classic UI button
- In the Classic UI, go to Help:License Manager (Activate)…
- In the License Manager, go to Settings:Alternative Licensing Server …
- In the dialog that appears, disable the ‘Use offline licensing server’ checkbox.
- Click ‘Ok’ and follow the prompting to restart the machine.
Pertinent INI File Keys
The server and client credentials are stored in plain-text in two INI files on the client machine, imatest-v2.ini and license_server_settings.ini, both of which are stored in the default INI directory (macOS: ~/Library/Application Support/Imatest/, Linux: ~/.imatest, Windows: %APPDATA%\Imatest).
imatest-v2.ini
| Section | Key | Type | Description |
| imatest | license_server_enable | (int) | Set to 1 to enable, 0 to disable the client authenticating via the Offline Floating Licensing Server. |
| imatest | license_server_credential_file | (string) | The full file path to license_server_settings.ini. Note that backslashes in Windows paths must be escaped. |
| imatest | licensing_server_type | (string) | The licensing server type identifier, which must be set to ‘Offline License Server’. |
license_server_settings.ini
| Section | Key | Type | Description |
| client | username | (string) | The client username in plain-text. |
| client | password | (string) | The client password in plain-text. |
| client | computer_name | [Optional] (string) | A name for the machine to be displayed in the administrator portal. |
| format | version | (float) | The file format version number. Please set to 1. |
| server | url | (string) | The IP address for the Offline Floating Licensing Server.imatestlicense_server_port(int) |
| server | port | (int) | The port number for the Offline Floating Licensing Server. |


