Annotate Images with Personalized Custom Fields
Introduction
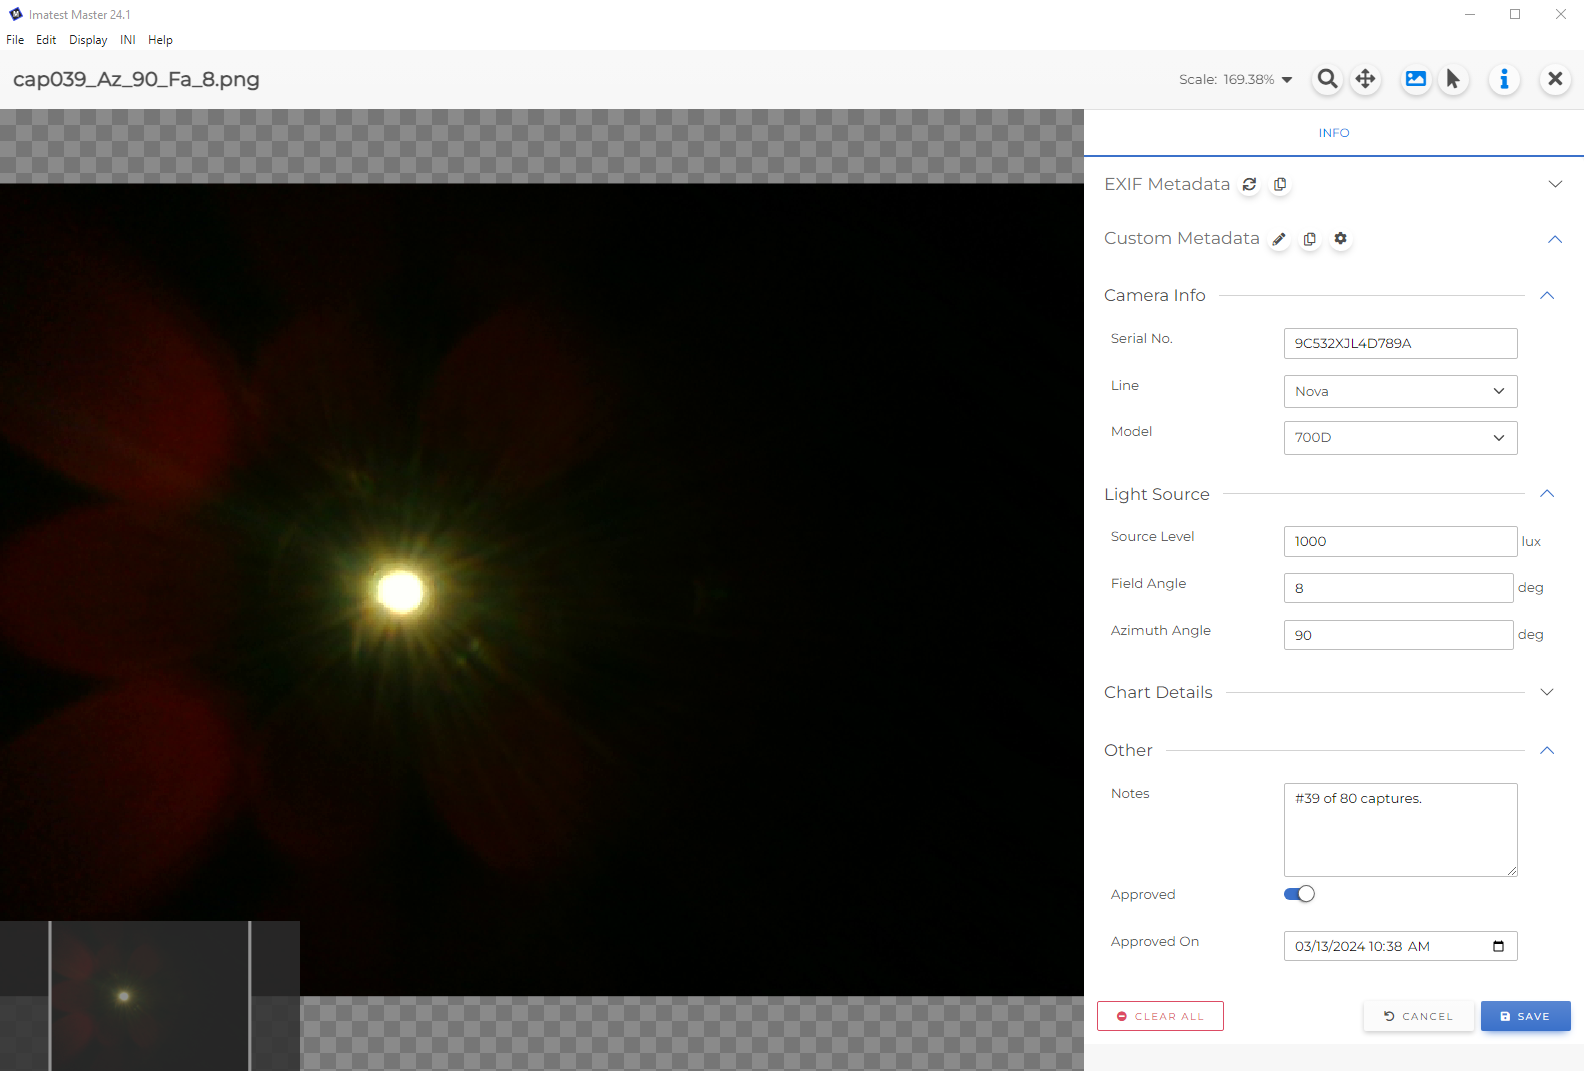
The Custom Metadata feature allows you to annotate your image files with extra information. Attributes can be defined and organized to suit your unique requirements. For example, you can log chart distance, lighting conditions, device details, or just free form text notes. This information can be easily viewed and edited in Image Preview.
How is it different from Exif Metadata?
Custom Metadata is not stored within the image itself; it is saved to a database file on your computer. See Important Caveats below.
Custom Metadata is strongly typed, meaning you can define what format the values must be (Text, Integer Number, Date & Time, etc.). See Data Formats below.
Custom Metadata is fully customizable to suit your unique needs, and can be grouped into Categories.
Important Caveats
Custom Metadata is stored locally on each user’s computer in a separate database file. As of Imatest 24.1, the information is tied to the file path of the image, so if you change the image’s filename or directory location on your hard drive, that image will become disconnected from all Custom Metadata saved for that image. You can restore the metadata values by renaming the image back to what it used to be, then re-opening the image in Image Preview.
If you change computers and wish to keep your image’s data, you will need to:
- Make sure the directory structure for your images is exactly the same on the new computer, and
- Copy the “analysis.db” file from your old computer to the new one. This can be found in your default INI folder.
Attribute Setup
The Imatest Custom Metadata feature was designed to be as flexible as possible, because every organization’s workflow is different. The first step to annotating your images with custom metadata is to define the attributes that you require, and organize them into categories that make sense for your needs.
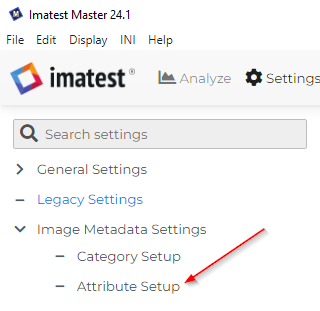
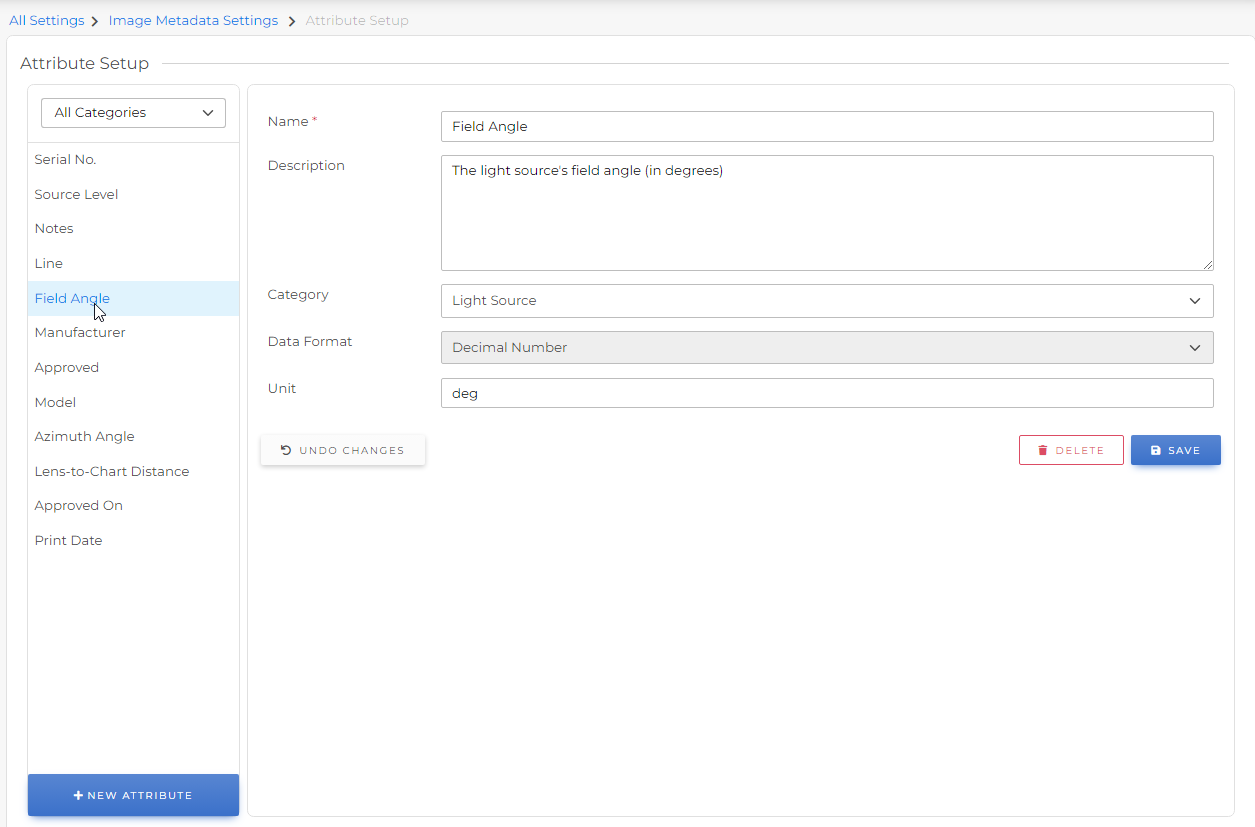
First, click on Settings at the top of the Main Window.

Then click on Attribute Setup under Image Metadata Settings
Click the New Attribute button, and fill out the fields:
- Name: The name of the attribute
- Description: An optional longer description that will display as a tooltip in the Edit Custom Metadata area.
- Category: Which category the attribute belongs to. Note: Deleting a category will not delete an attribute – the attribute will be moved to the “Other” category.
- Data Format: Choose the appropriate format for this attribute. Note: An attribute’s data format can only be changed during its initial creation; you cannot edit an existing attribute’s data format. If you realize you made a mistake and chose the wrong data type, you can delete the attribute and create a second one. See Data Formats below.
- Option List (for Option List Data Format only): Here you will build the list of pre-configured values to select from. Note: Deleting an option here will not delete the value from any images’ metadata.
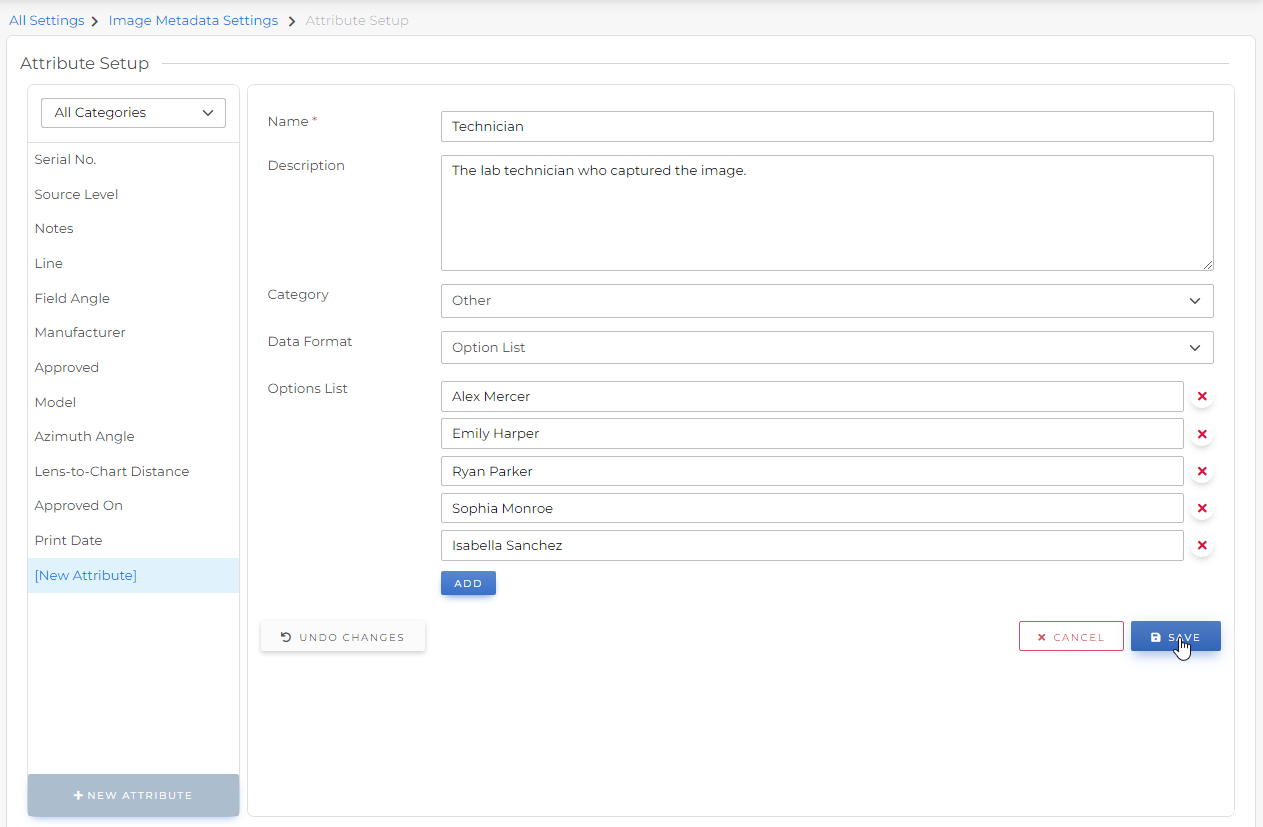
Click the Save button.
Use the same process to edit existing attributes – just click on the appropriate attribute in the list, make your changes, and click Save. Note: you cannot change the Data Format of an existing attribute.
Category Setup
To help organize your data, you can group your attributes into different categories. Create and edit categories by clicking the Category Setup button.
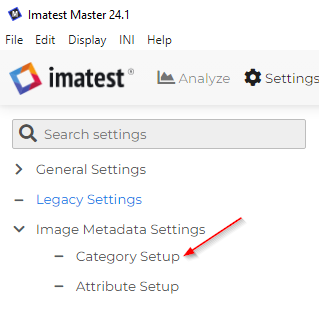
Click the New Category button, and fill out the fields:
- Name: The name of the category
- Description: An optional longer description that will display as a tooltip in the Edit Custom Metadata area.
 Click the Save button.
Use the same process to edit existing categories – just click on the appropriate category in the list, make your changes, and click Save.

These categories will be listed in the Attribute Setup page, along with a default “Other” category.
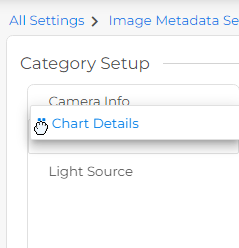
To change the order of Categories, simply click and drag them in the list on the left:
Data Formats
Imatest offers a variety of data formats for your Custom Metadata attributes to ensure your data stays in a consistent format across all images:
| Single-line Text | A single line string of any text characters (best for short one or two word phrases) |  |
| Multi-line Text | Any text characters, including new lines (best for longer text, such as a generic “Notes” field) |  |
| Option List | A drop down of pre-set, configurable text phrases | 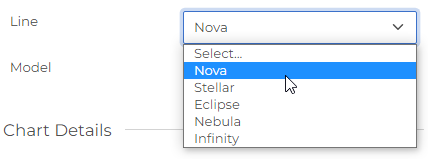 |
| Date | A date (with no time) | 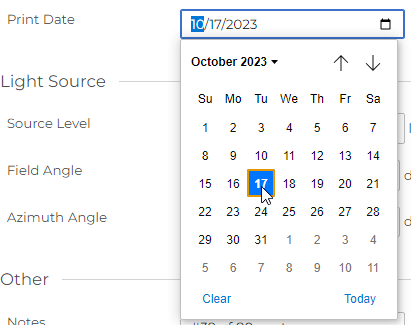 |
| Date & Time | A date with time | 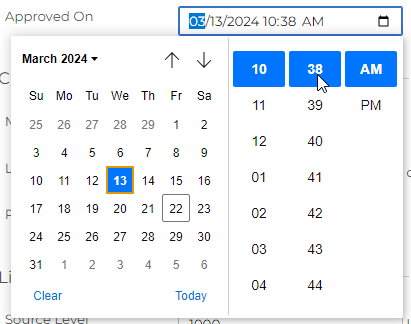 |
| Yes / No | A true or false (boolean) value, represented as an on/off switch | |
| Integer Number | A whole number that can be positive or negative, but cannot include a decimal point |  |
| Decimal Number | A number that can include a decimal point |
Adding Custom Metadata to Images
After your attributes are set up, you can start saving Custom Metadata associated with images.
Add an image to the Analyze window, then click the Image Preview button:
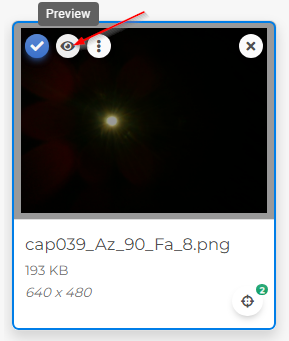
Tip: If the Image Metadata panel is not visible, click the “i” icon:

Below the Exif Metadata panel is the Custom Metadata panel. Tip: You can collapse either of these panels by clicking on the title.
You can edit your Custom Metadata values by either clicking the pencil icon, or double clicking anywhere in the Custom Metadata area.
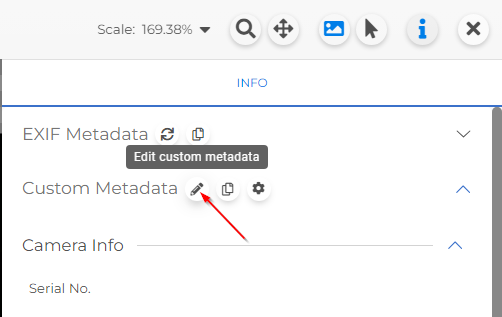
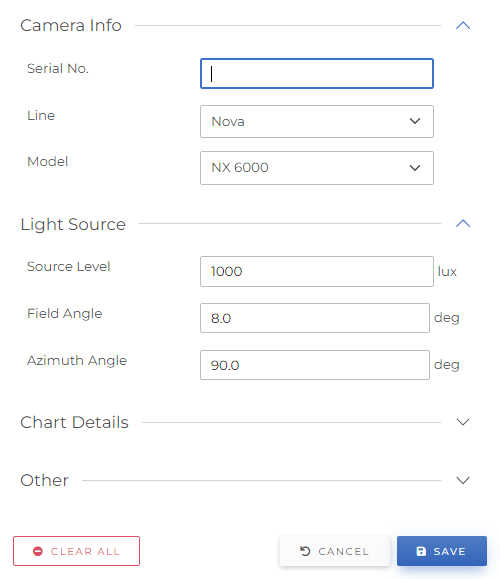
Changes are not saved until you click the Save button. Cancel will revert any changes back to the last time they were saved, and Clear All will reset all fields to be blank.
Copy and Paste
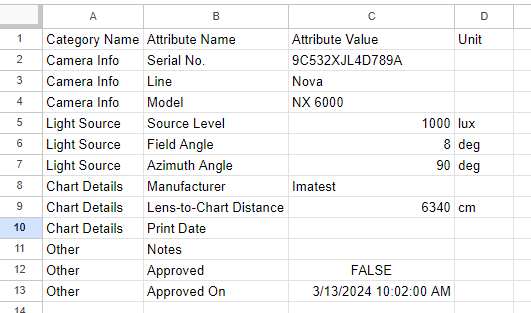
Click the Copy icon to copy all Custom Metadata to your clipboard in table format. This format allows for pasting easily into Excel, Google Sheets, or most other spreadsheet applications.

